

The kitchen sink is where the washing and cleaning of almost all dirty kitchenware take place. Dishwashing happens several times a day, depending on how often meals are prepared.
All the dirty dishes, utensils, containers, kitchen tools are brought to your kitchen sink to undergo an intense cleaning cycle.
Thank you for reading this post, don't forget to the best blogger Guy About Home who offers the best garden and home improvement tips! If you are a home decor and design fan, don't miss the tips on home ideas. If you are a home garden owner, then you might be interest in our complete guides to house plants!
Even if one owns a dishwasher, if there are only a few pieces to wash, doing the dishes in the kitchen sink will is undoubtedly more economical. Take into account the non-stop use your kitchen sink gets in cleaning greasy leftovers, it’s no wonder your sink does get dirty from all the abuse.
Due to daily use, there are times that various debris gets stuck in the drain pipe and causes the sink to drain slow or even worse it gets clogged up.
If you want to know how to clean a kitchen sink drain, follow this step by step guide, on how to fix a slow drain in the bathtub or shower. The steps listed on there will show you how to clean kitchen sink drain.
Keeping the kitchen sink clean should be a top priority in any household. Sanitizing the area where you wash the food you prepare for your family makes a lot of sense. This precaution will ensure your family’s good health, not to mention keep nasty germs from your clean dishes as well.
You can use household ingredients to make a natural cleaning solution. The mixture of baking soda and water or dishwashing liquid has proven to be a universal cleanser which is safe to use on any surface. This organic cleaning solution has proved its worth time and time again.
Of course, feel free to use your favourite store-bought cleansers such as Soft Scrub or Hope’s Perfect sink which work wonderfully in cleaning your sink.
When it comes to any task that involves significant cleaning, preparation is paramount. Make sure to have these on your side to maximise efficiency.
Tools for cleaning a sink
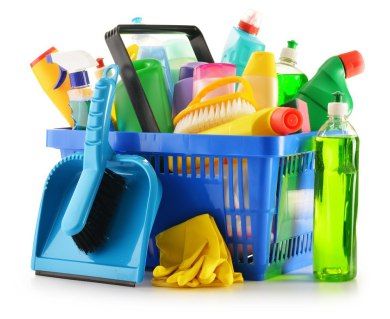
Image Source: Pinterest
- Rubber gloves
- Sponge
- Washcloth
- Cleaning Product
How to clean kitchen sink
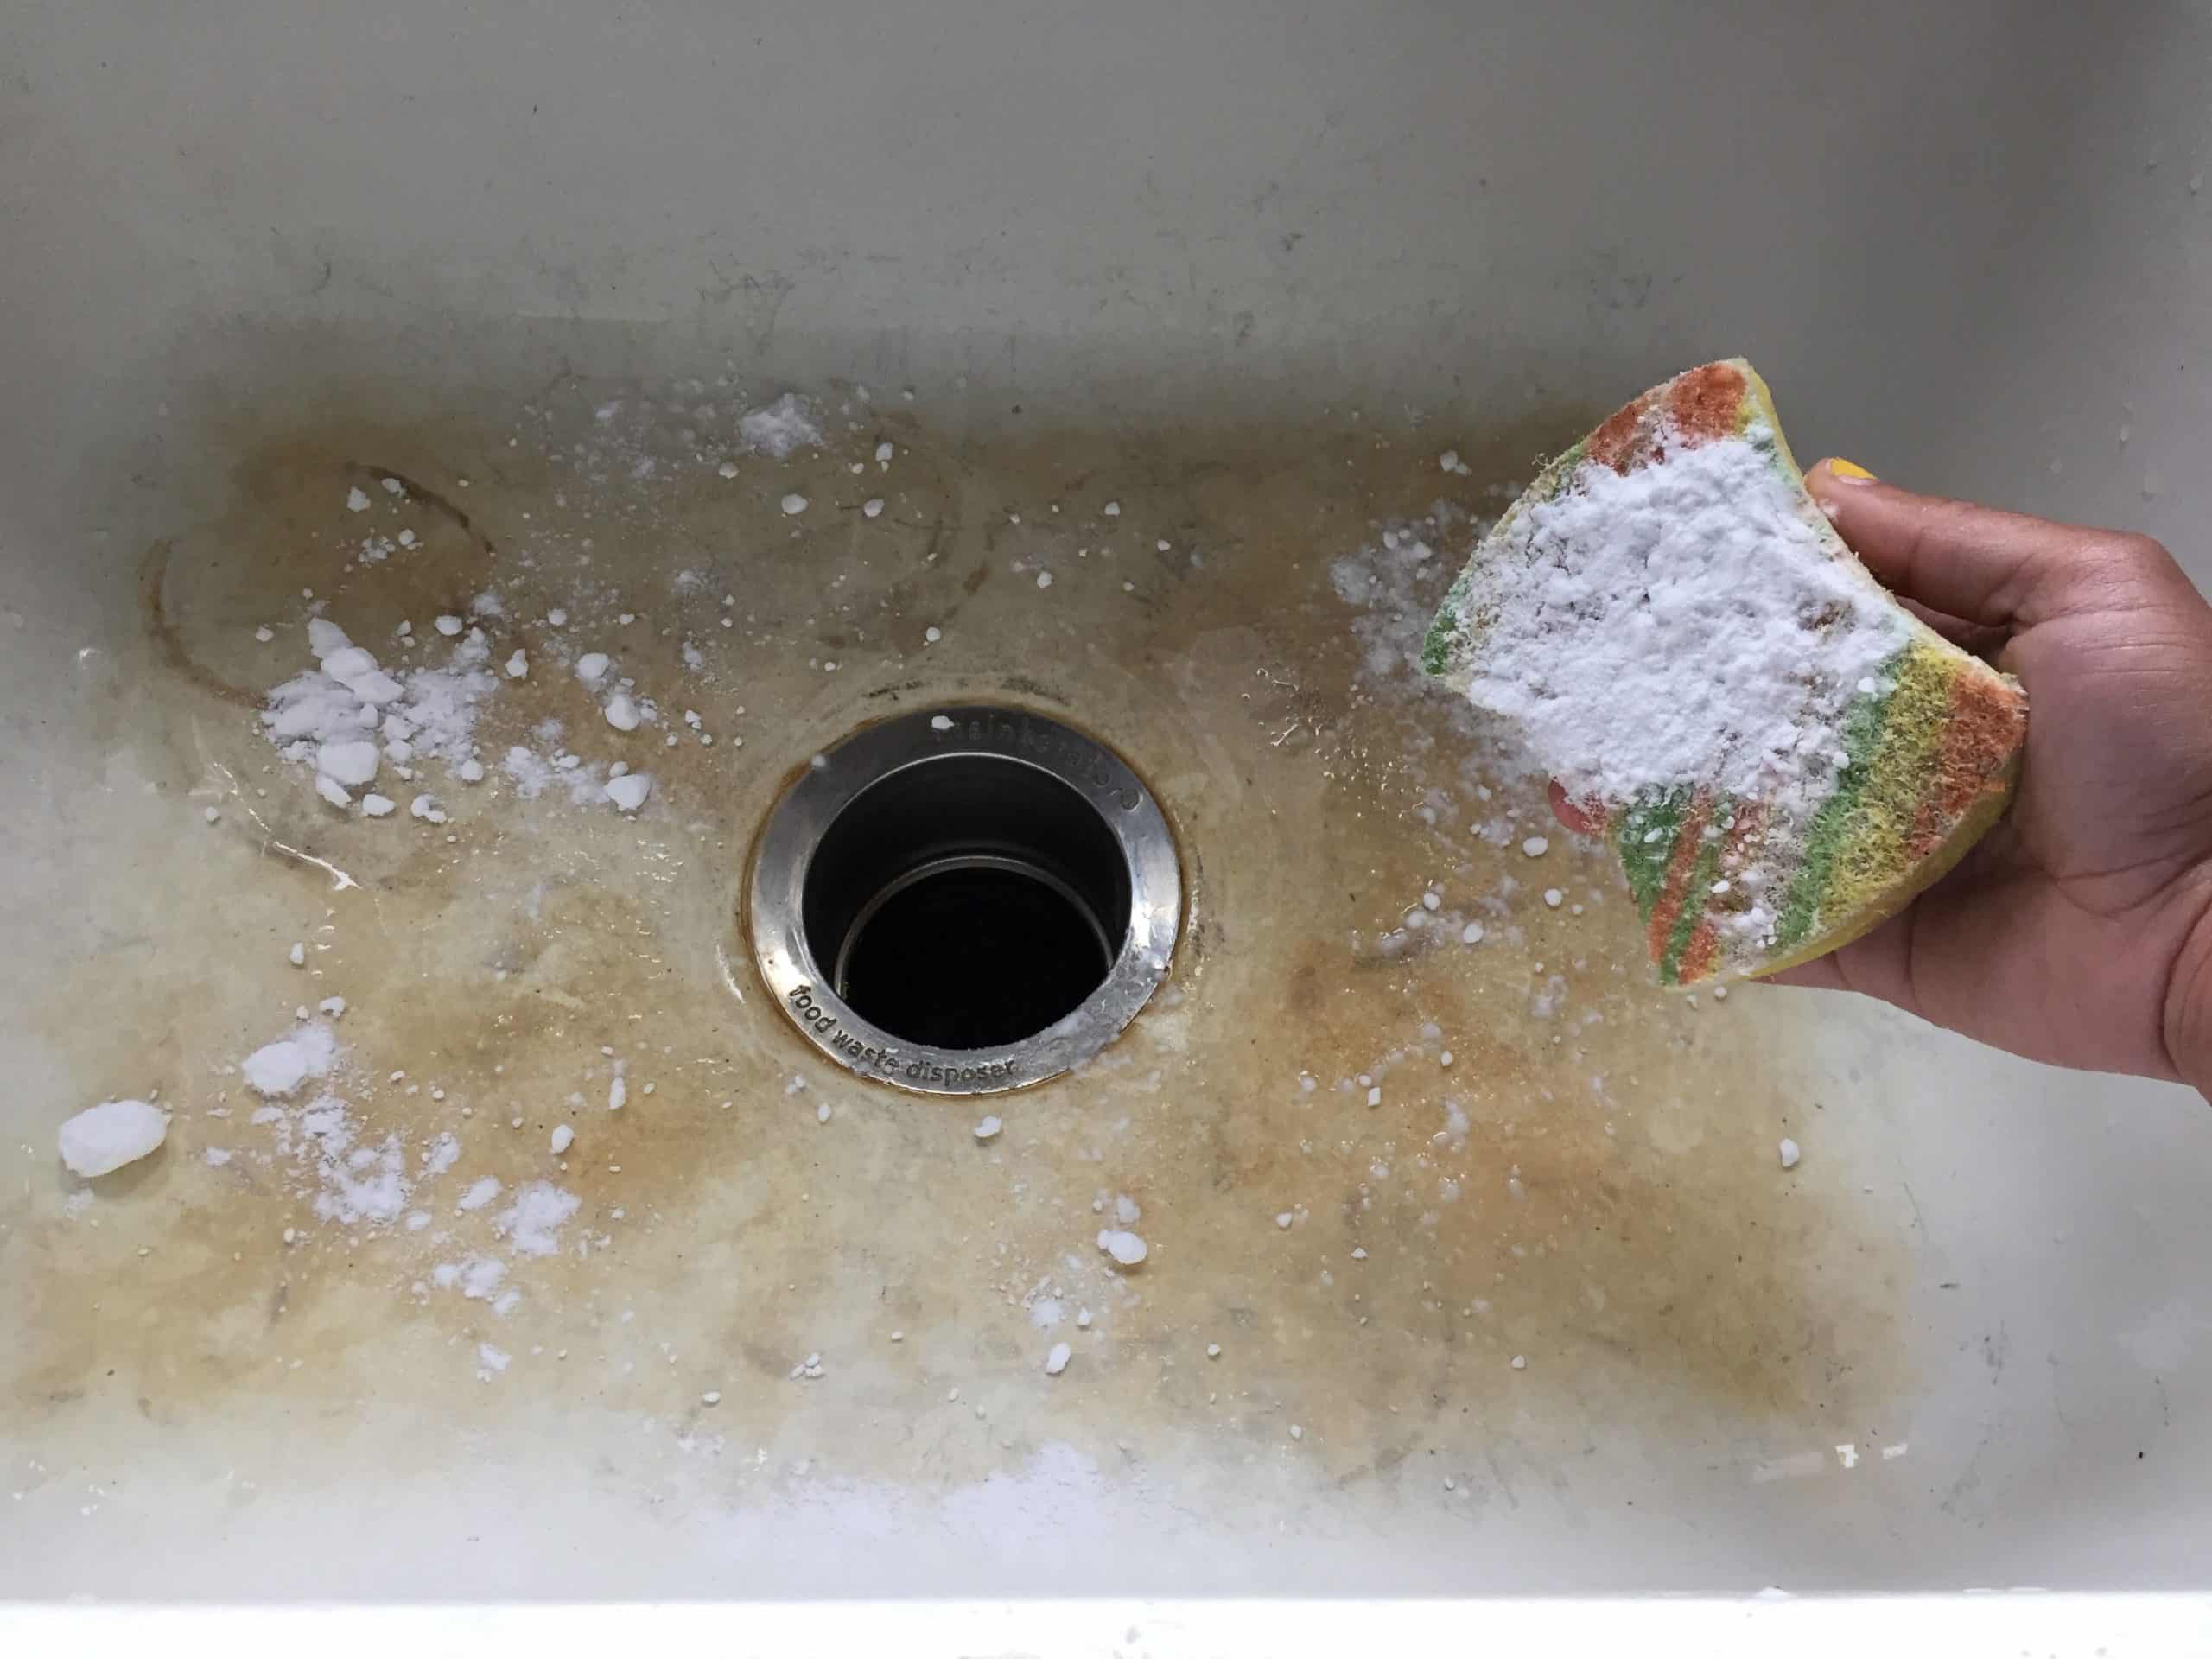
Image Source: Pinterest
To be on the safe side, I made sure that these cleaning methods can be used no matter what the finish is of your sink. So you do not have to hesitate when trying these out.
Stainless steel sinks have become very popular in most modern homes due to their durability and bang for buck value. It is best not to use abrasive cleaning tools when scrubbing a stainless steel sink. This also applies to how to clean stainless steel refrigerator; a good sponge will work wonders.
White sinks are made from cast iron, but since cast iron will easily rust when exposed to water, they are finished in a heavy porcelain enamel finish. These types of sinks are very sturdy and easy to keep clean. The steps below are perfect if you want to know how to clean a white kitchen sink.
It won’t matter how clean your sink is if your dish sponge is a breeding ground for bacteria. It is recommended to not keep your sponge for more than a week with a maximum of 30 uses at most. Replace it once you hit that threshold to prevent any time of bacteria spreading from that sponge.
So toss out that old sponge already and get a new one. Let’s get started cleaning your sink.
Step 1 Apply the cleanser

Image Source: Pinterest
Organic Homemade cleanser v1 – This is the same cleanser used in my other article, “How to thoroughly clean your bathroom”, so If you have some of that leftover, then go ahead and use that solution. In case you do not have that handy, here are the directions to make it right now.
Grab an empty spray bottle, add a cup of baking soda and half a cup of water then add half a cup of white vinegar. Twist the nozzle cover closed, shake to mix well and there you go. Vinegar is a natural disinfectant, keep that in mind when something needs cleaning.
Before you start cleaning make sure to remove any clean dishes from the sink. Now proceed to spray the cleaner on every inch of the sink, making sure to target the spout, handles, all the edges and then let it sit for about ten minutes.
Organic Homemade cleanser v2 – This method of using baking soda to clean the sink is probably more popular. Sprinkle baking soda all over your sink, make sure to sprinkle some on every part including the spout and handles.
Then you can pour some vinegar on the baking soda so that it will react and cleanse the sink.
You may want to pour a cup of white vinegar into an empty spray bottle to be able to coat the entire sink with vinegar more efficiently.
If you decided to make a spray bottle with some vinegar, then go ahead and spray the entire sink. You should be able to see the vinegar reacting to the baking soda, let it sit for about ten minutes.
If you are wondering if this is safe to clean a stainless steel kitchen sink, yes it is.
Manufactured Cleansers – There are a lot of different cleaning products available at the store, make sure to read the label to verify if they are suitable for use in your sinks finish.
If you want to play safe try using a cleanser that is compatible and safe to use on all surfaces. Hope’s Perfect sink, is one such kitchen sink cleanser.
Apply a liberal amount of the cleanser of your choice onto the sink, be sure to apply the cleaner to the spout and handles as well.
Step 2 Elbow grease
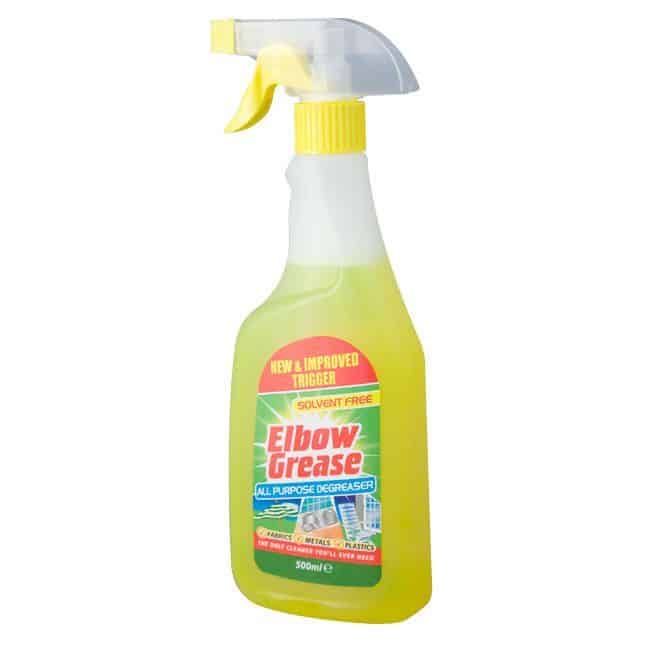
Image Source: Pinterest
Using good old fashioned elbow grease is a must no matter what kind of cleaning agent you decide to use. To avoid any scratches, it is best to use a sponge and not steel wool when scrubbing your sink.
If you chose to use the homemade cleanser, spray more vinegar on stains that are not coming off and scrub clean. Scrub every inch of the sink and make sure to rinse your sponge when it becomes too dirty. Repeat this process until you are satisfied it is clean.
If you decided to use the manufactured cleaners, do the same thing and just scrub with a sponge or microfiber washcloth, then rinse your cleaning tool when necessary.
Step 3 Rinsing and Drying
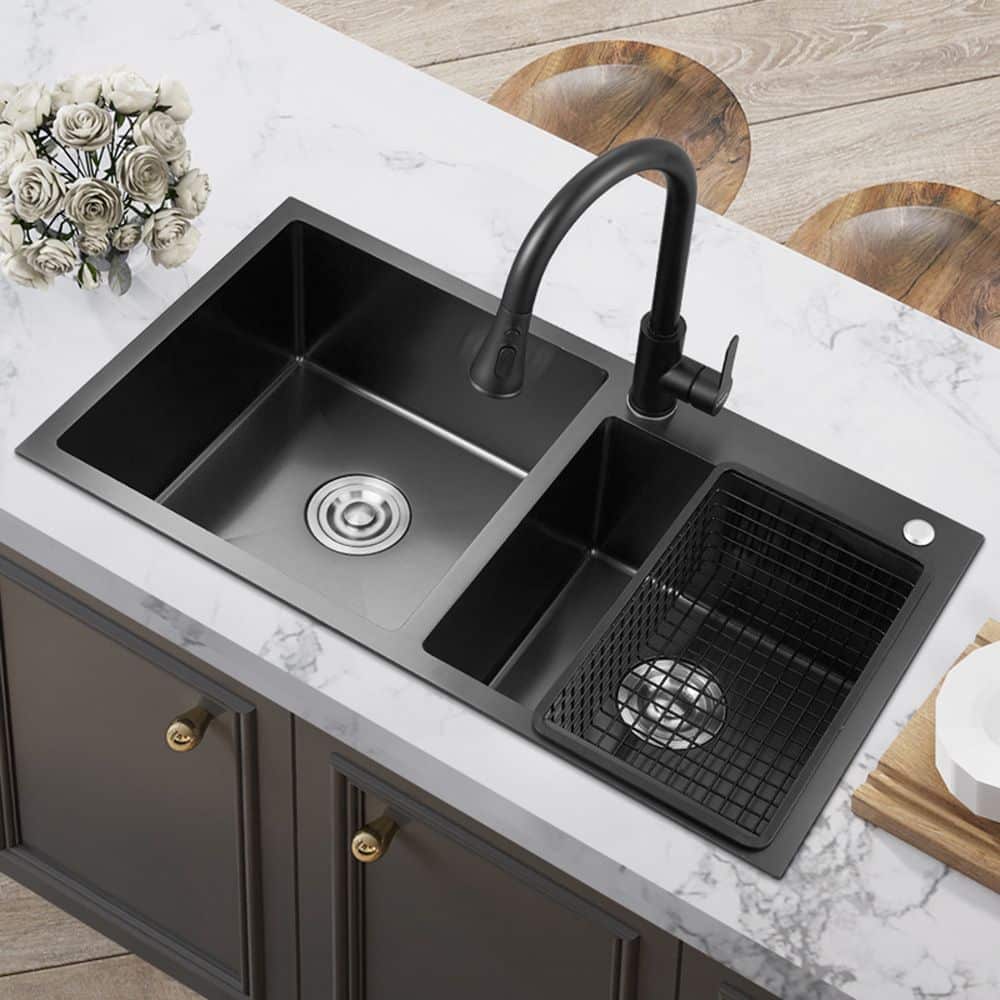
Image Source: Pinterest
Once you have finished scrubbing the sink clean, rinse your sink with warm water. It is vital to rinse it thoroughly to ensure that no trace of the cleaning agent is left in your sink. A good rinse is important to remove any lingering scent as well.
Now all that is left is to dry your sink. Yes, you read it right, you have to wipe the sink to make sure now water spots form. This is a good idea to do moving forward.
Dry the sink after every dishwashing session; this will help prevent hard water spots from forming and will make your job of cleaning the sink that much more comfortable.
Conclusion:
Your kitchen sink is a breeding ground for bacteria, make sure to always keep it clean by following the steps above. It should take you no more than twenty minutes to clean your sink and in exchange that will give you the peace of mind that your dishes and food cleaning area is free from germs. Sounds like a good deal if you ask me.
For more amazing ideas you can have, visit Guy About Home today or you can check the related blogs: