
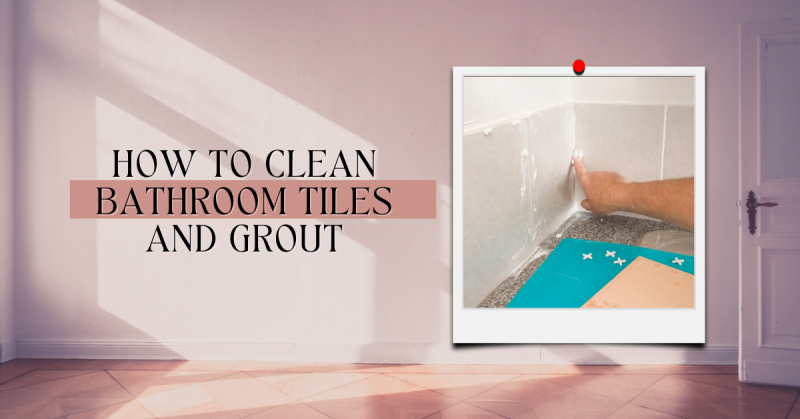
You can’t say you have a clean bathroom if your tile grout is dark. Grout gets darker over time because grout is porous, so it is susceptible to absorbing dirt easily. Particularly for older grout work in which the sealant has already worn out.
When it gets dark like that it means that there is dirt, mildew or mould on the grout forming a linear grid of ickiness. It is imperative that you target that build up when you clean to keep your bathroom looking great and smelling fresh.
Thank you for reading this post, don't forget to the best blogger Guy About Home who offers the best garden and home improvement tips! If you are a home decor and design fan, don't miss the tips on home ideas. If you are a home garden owner, then you might be interest in our complete guides to house plants!
Once you’re done with cleaning the grout work in your bathroom, make sure to use a grout sealer to prevent the buildup of mould and slime in your grout.
If you have not gotten started yet in cleaning the bathroom then you are in luck, just follow the steps on my previous article “How to thoroughly clean your bathroom” and you should have that done in no time. Follow the steps in that article to show you how to clean bathroom tiles easily.
In case you’re already done in cleaning most of your bathroom but only have the grout to deal with then don’t worry, read on and follow the steps below to eliminate that problem. First, let us discuss the variety of different cleaning products that you can use for this purpose.
Tools to clean bathroom tile grout
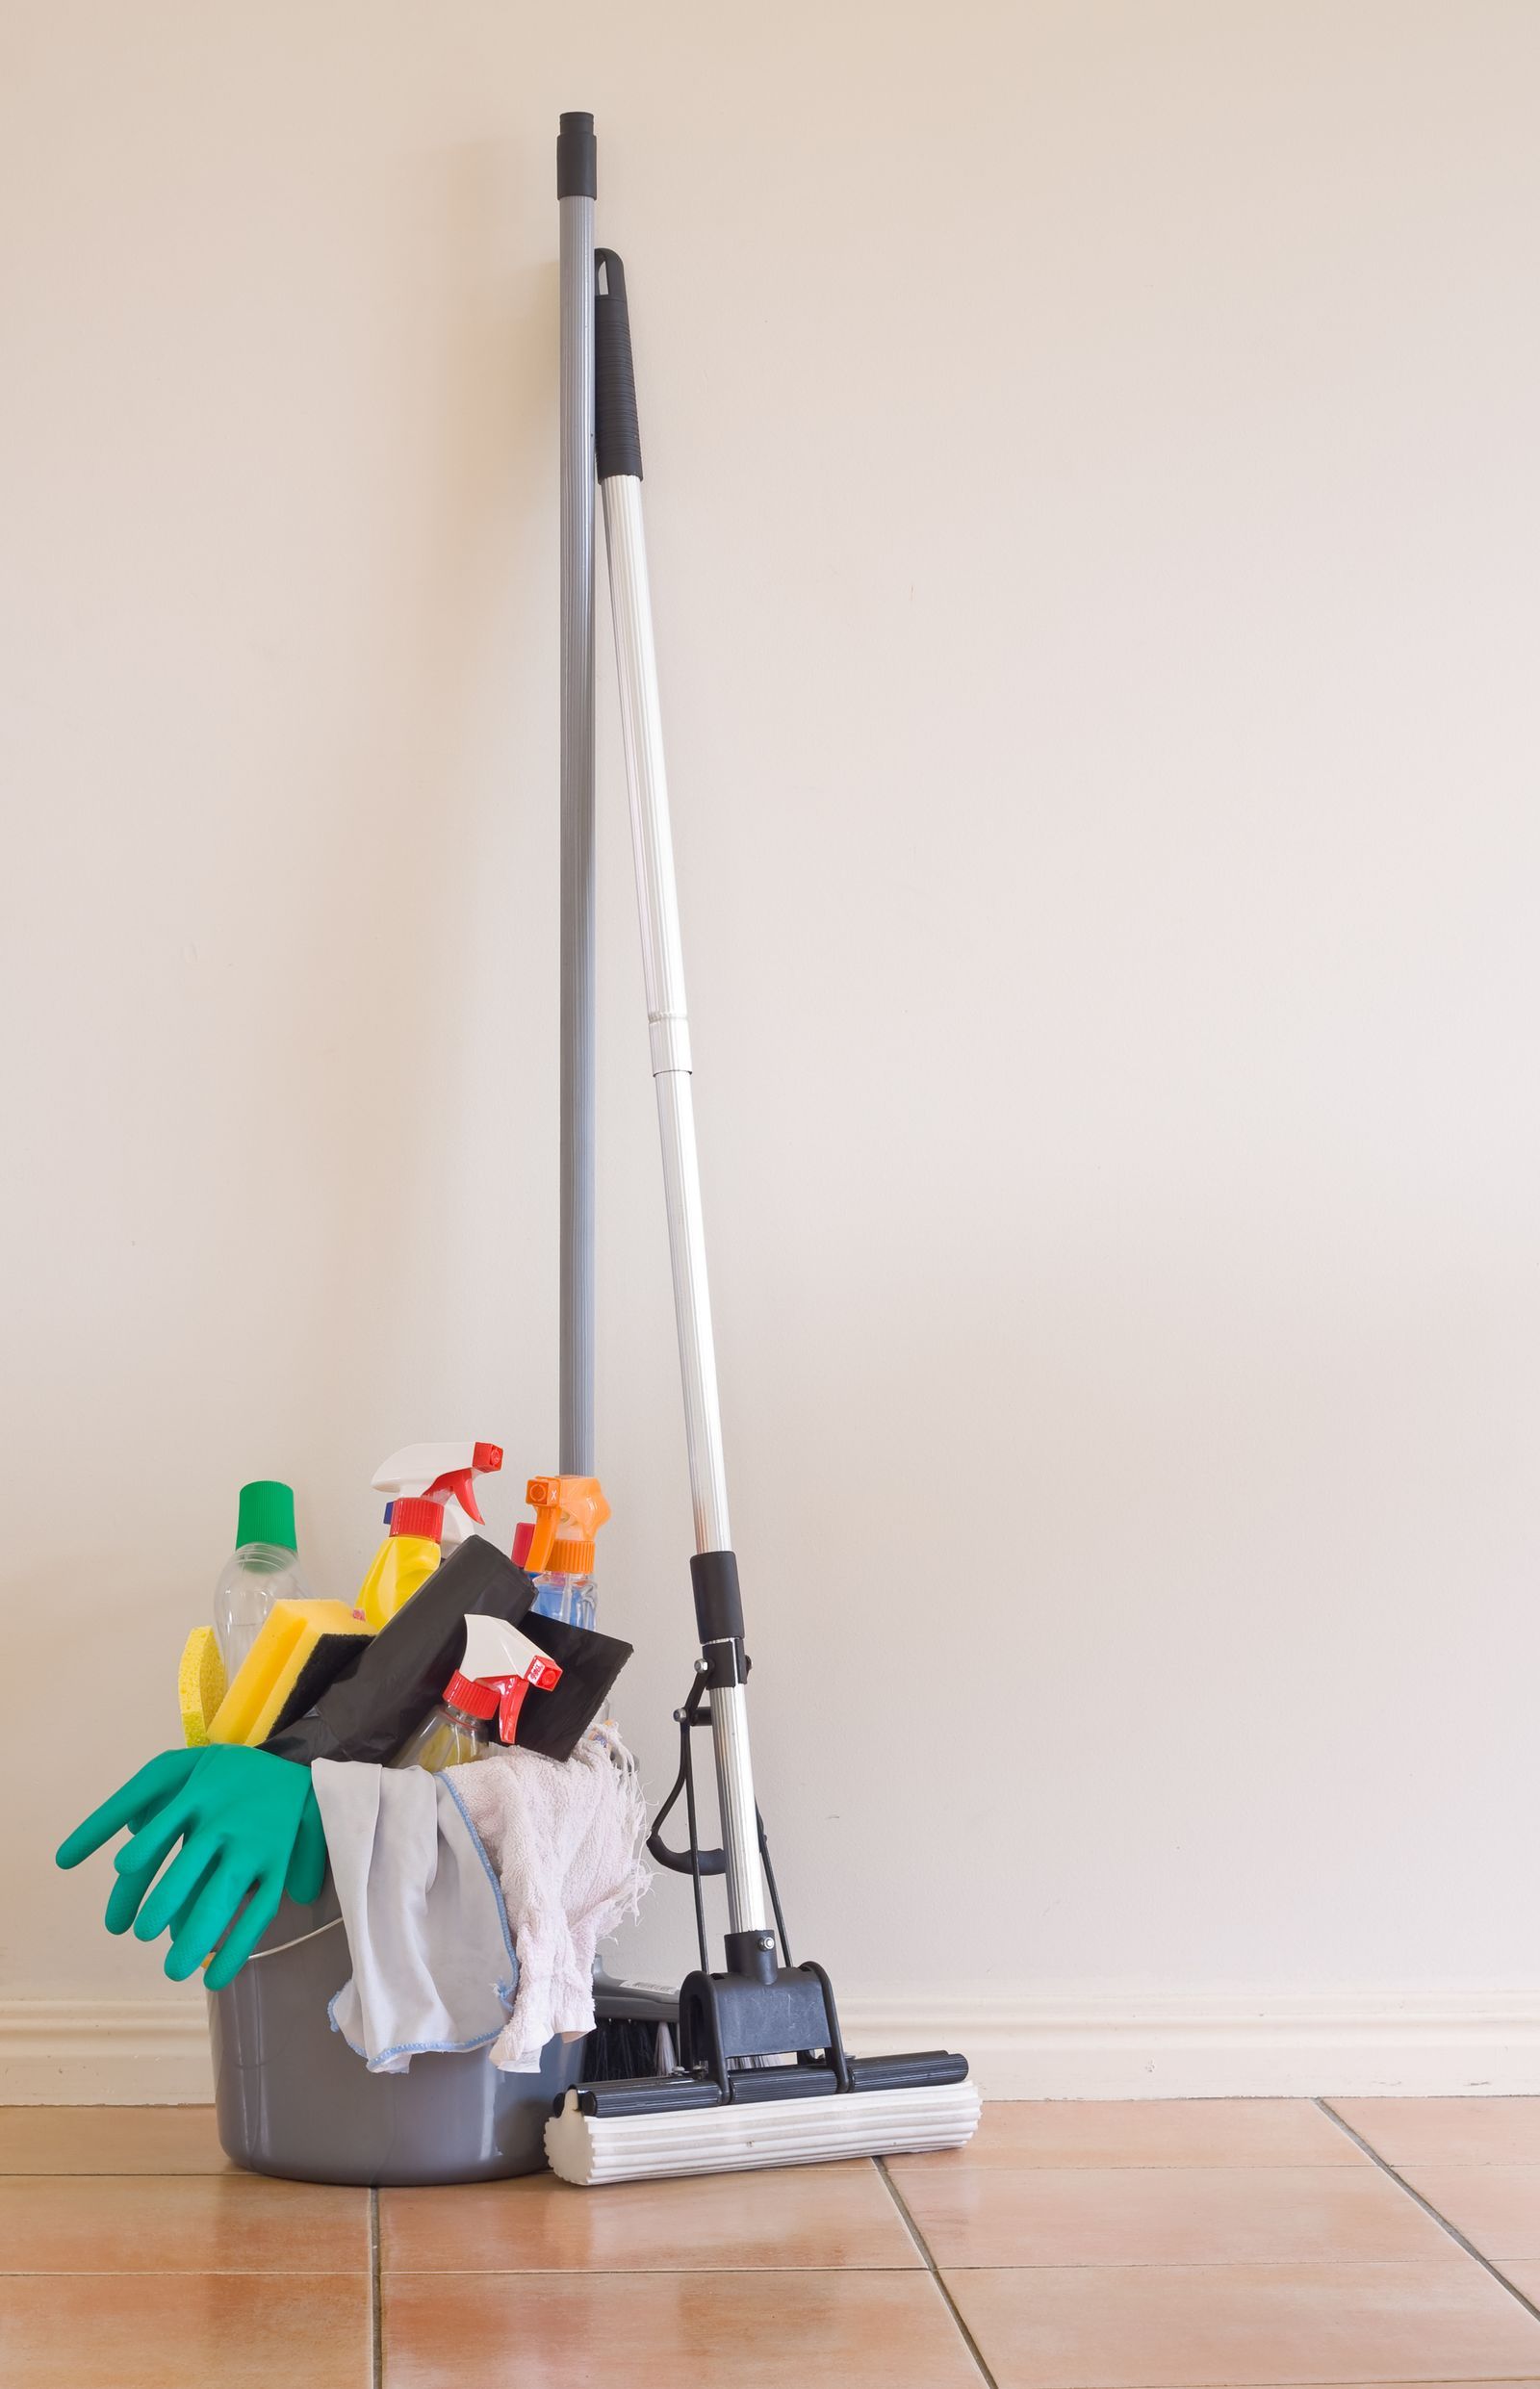
Image Source: Pinterest
- Rubber gloves
- Sponge
- Bristled brush or old toothbrush
- Washcloth
- Bucket
- Cleaning products
- Broom & Mop
How to clean bathroom grout
Steam Cleaner

Image Source: Pinterest
Technically this isn’t a cleaning product; it’s a machine designed to use steam to help you to clean almost anything. A steam cleaner is a very versatile tool that uses a boiler to heat up water which and converts it to low pressure, low moisture, water vapour or steam.
It is commonly used to clean and sterilise almost any surface. It has proven to be quite popular since it is environmentally friendly and only uses water to tackle significant cleaning jobs.
Use a bucket of warm water and a mop to clean up the gunk the steam cleaner has loosened. If you need additional cleaning power, a good tandem would be to use vinegar in warm water as a follow-up cleaning process. Mix a quart of vinegar, a litre of warm water in a bucket to use when mopping up.
Step 1 Prepare your steam cleaner
Pour water into your steam cleaner and turn on your you machine. Let it heat up for a few minutes
Step 2 Pre-clean the surface
Be sure to sweep any debris and give it a good once over with a mop. For the walls, a quick wipe down with a washcloth or sponge should be excellent.
Step 3 Bristle brush attachment
Make sure to use your steam cleaners bristle brush attachment for convenience and ease of use. Run the steam cleaning on the grout lines itself while scrubbing at the same time. Notice how quickly the gunk gets removed as you cut through it with your tool.
The surface will get too icky while steam cleaning, grab your mop dipped in the vinegar water solution to mop up the mess as it happens. If the surface is clean enough then you do not have to use the vinegar water mix when mopping, hot water will be enough for this.
It would be easier to clean in sections so do the walls first then the floors. Repeat this process until you have cleaned the whole bathroom. This is one of the best ways on how to clean bathroom floor tiles.
Step 4 Rinse and dry
Once you are done cutting through all the slime plus sludge in your grout lines and have done a preliminary mop up, now it is time to sterilise the surface by mopping every inch with hot water.
Make sure you use a clean mop when doing this. Rinse it clean first and then proceed with the final mop up.
Natural Homemade Cleaners
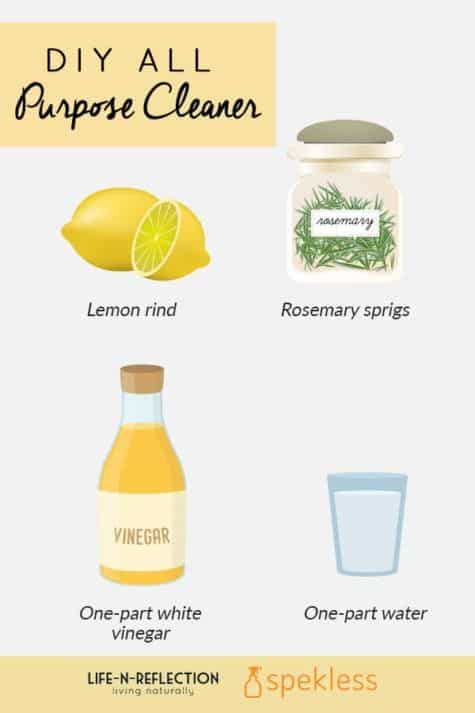
Image Source: Pinterest
There are quite a few options available to use as an organic cleaner. They are all quite efficient when it comes to removing limescale, mould and mildew. It would be best to try each of these mixtures to see which one works best for you and you can judge for yourself.
Homemade cleaning solution – This is the same mixture that I used on “how to thoroughly clean your bathroom”. Grab an empty spray bottle, pour one and one half cup of baking soda, add half a cup of water, half a cup of vinegar and half a cup of liquid soap. Close the Bottle and shake well before use.
White vinegar and water – Mix equal amounts of white vinegar and water in a bowl or spray bottle.
Manufactured Grout cleaner – This can be a last resort, or if you do not want the hassle of making your own homemade organic cleaning solution then I suggest you purchase ultimate grout cleaner or something similar.
The above cleaning products are all spray on, hence have similar steps when using them.
Step 1 Pre-clean
It is essential to pre-clean the area you are trying to deep clean. Sweep and mop the floors or wipe the walls with a sponge. This initial process will make way for the cleaning products to be used, making it easier to do.
Step 2 Spray and set
Spray the cleaning solution of your choice and let is set for a few minutes. If you decided to use the homemade cleaning solution then just wat ten to fifteen minutes for the mixture to break down the gunk in the grout. This is one of the best ways on how to clean bathroom tile grout.
If you decided to use the store bought grout cleaner, make sure to read the instructions on the back label to verify requisite wait times as these vary depending on the product. When using ultimate grout cleaner, in particular, this has a wait time of only 3 minutes.
Step 3 Scrub and rub
It is best to use a Nylon bristle brush or even an old toothbrush at this stage in the cleaning process. It is best to scrub in a circular motion. A sponge is acceptable for this as well. Start with the walls, grab your cleaning tool and put some elbow grease into it.
Scrub the grout until it is clean. Rinse the walls with warm water and wipe dry with a washcloth. Repeat until you have scrubbed clean every inch of tile and grout in the bathroom.
Baking soda, water & a dash of vinegar- This is another organic cleaning solution, as you may have noticed, baking soda has a multitude of uses as a cleaning agent. You can even use a mixture of baking soda and vinegar to clear a slow drain as described in my previous article “How to fix a slow drain in the bathtub or shower”.
Pour a cup of baking soda into a bowl, add a few teaspoons of water, just enough for you to mix the ingredients into a paste.
NOTE: Never mix hydrogen peroxide and vinegar. This will create a chemical known as Peracetic acid which can be highly corrosive.
Baking soda and hydrogen peroxide – This is another organic cleaning solution produced by mixing common household ingredients. Again, be careful not to combine vinegar with hydrogen peroxide, it will result in peracetic acid which can be corrosive.
If the baking soda, water and vinegar solution did not remove all the build in your grout, then you can level up by mixing baking soda and hydrogen peroxide to form a paste. Use this in the same fashion as you did with the previous organic mixture.
This mixture will do wonders if you want to know how to clean bathroom tiles and remove stubborn stains from tiles. Omit the step 2 when using this combination.
Step 1 Apply the paste
Use a bristle brush, toothbrush or sponge and dip it into the mixture and start scrubbing on the dirty grout.
Step 2 Spray some vinegar
For convenience purposes, pour equal parts water and white vinegar into an empty spray bottle.
Once you are done with the initial scrubbing, spray this solution on the area where you have scrubbed using the baking soda paste. You should the baking soda react to the vinegar and start to bubble, let it sit for twenty minutes.
Step 3 Scrub again
After waiting for the mixture to do its work and break down the gunk build up in the grout, scrub the grout work once again.
Step 4 Rinse clean
Rinse the newly scrubbed areas with clean, warm water and wipe dry with a washcloth.
FINAL Step Apply the Grout Sealer
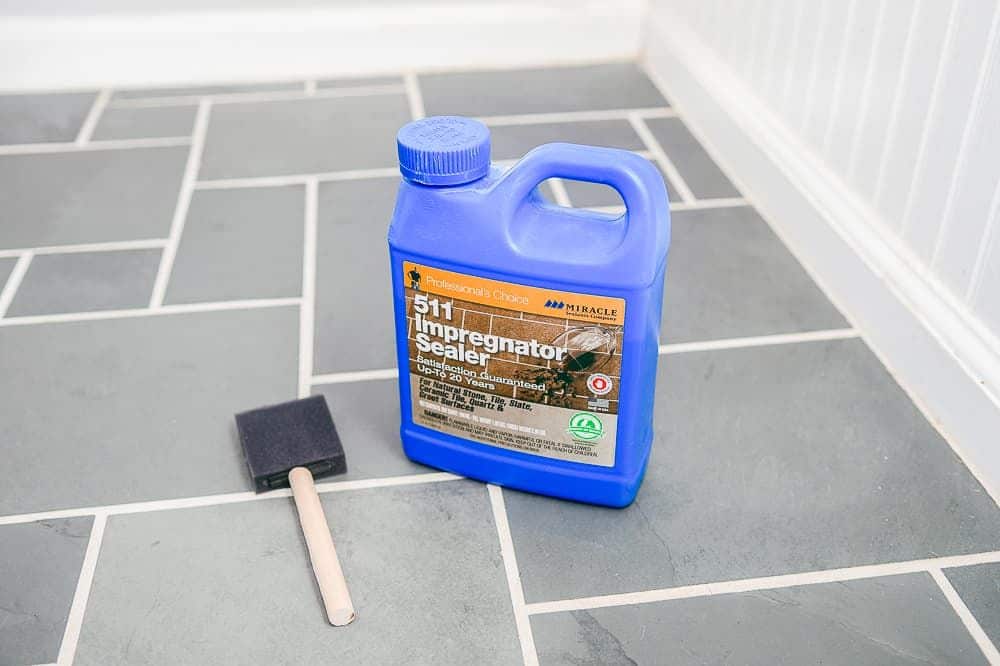
Image Source: Pinterest
This last step is critical. It does not matter what cleaning product you decided to use from the options given above. What is important is that your tiles and grout are clean and now we need to insure that they remain that way.
Purchase a grout sealer in any hardware store, look for one that is water based so that you won’t have to deal with the foul odours. Purchase a sponge brush or two and apply the sealer on your newly cleaned grout. Wait 5 minutes and wipe with a washcloth.
It is recommended to apply the sealer at least twice. This will prevent water from seeping into the grout, thereby preventing the build-up of mould and mildew.
Conclusion:
Cleaning your bathroom tiles and grout is vital to keeping an immaculate bathroom. Wiping down your bathroom walls after use is an excellent way to prevent the build-up of mould and mildew, but if you sometimes forget to do that, don’t worry just follow the steps above for some serious deep cleaning.
If you find that you have been cleaning the tile grout too often, then that just means you need to reapply some grout sealer. Follow the final step above to do just that for you or you can watch this quick video for a walkthrough.
For more amazing ideas you can have, visit Guy About Home today or you can check the related blogs: