

Thank you for reading this post, don't forget to the best blogger Guy About Home who offers the best garden and home improvement tips! If you are a home decor and design fan, don't miss the tips on home ideas. If you are a home garden owner, then you might be interest in our complete guides to house plants!
Did you know that you could be wasting several gallons of water by having just one leaky faucet in your home? That translates into several thousand gallons wasted per year which technically come out of your pocket, costing you hundreds of Pounds.
If you want to calculate how much water your leaky faucet is costing you today, you can use this drip calculator to compute that for you right now.
Isn’t it shocking? Before you rush to the phone and call your local plumber, try following these straightforward steps to fix you faucet yourself. It is surprisingly easy to do, all you need is a little bit of confidence and some necessary tools.
Tools to fix a leaky faucet
- Phillips screwdriver
- Flathead screwdriver
- Allen wrench
- Pipe wrench
- Washcloth
How to fix a leaky kitchen faucet with two handles
The first thing you need to do is determine if the water leak is coming from the base of the faucet or is it leaking through the spout. If water is leaking through the base, then you would need to replace the o-rings of the faucet.
If it is leaking from the spout, then there is an internal component that needs to be replaced, in most cases the leak is due to a faulty valve seat.
In case you want to know how to fix a leaky kitchen faucet with two handles and are not sure where the leak is coming from shut off the water line to the left handle, if the leak stops then you need to concentrate your efforts on that particular handle.
If it continues then the leak is coming from the right handle, just treat each handle the same way you would fix a single handle faucet and follow the steps below.
There are four different types of faucets; these are categorised based on how they work and sometimes you can tell them apart by how they look as well, but it is best to take your faucet apart just to be sure.
You need to determine what type of faucet you have installed because different kinds of faucets require different parts to get it fixed.
Ball faucet (Single handle faucet) – This is one of the most common types found in modern kitchen sinks. This works by allowing the hot and cold water lines to flow together inside the ball valve. When moving the handle of this type of faucet, it is of inner mechanisms rotating or sliding.
The water temperature is dependent on how you adjust the lever, left for hot water and right for cold and that mixture is then released out the spout.
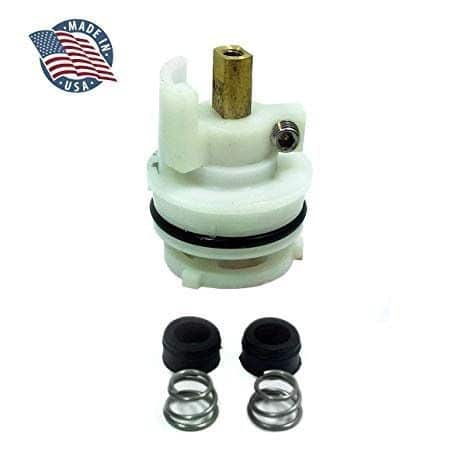
Cartridge Faucet (Single or Double handle faucet) – These were designed for ease of maintenance, if ever you experience a leak, just replace the entire cartridge rather than fidgeting with several small parts.
Single-handed cartridge faucets work by using the handle to move the internal cartridge up or down inside the faucet body to start and stop the flow of water out the spout.
Double handle cartridge faucets work the same way; the only difference is that each handle controls two separate cartridges, one for hot water, the other for cold. When using this type of faucet, you can feel the distinct sensation of the cartridge going up and down.
Compression Faucet (Double handle faucet) – These types of faucets have been around since indoor plumbing was invented. As the name suggests, it works by using a washer that is compressed by twisting the faucet handle clockwise to turn on the flow of water and counterclockwise to turn off.
The internal washer does wear out over time which causes leaks, replacing the washer on a traditional compression faucet is much cheaper than replacing parts on a more modern faucet.
Disc Faucet (Single handle faucet) – Ceramic disks faucets are the most technologically advanced models available today. You can tell these apart from it only having one handle on a cylindrical frame. A ceramic disc is technically another form of a cartridge. These are sturdier than its predecessors and rarely cause any leaks.
This works by allowing hot and cold water inside the pressure balance cartridge. There are two ceramic discs at the bottom of the cartridge that will go up and down to control the flow of water. The side to side motion controls the temperature of the water.
These can be expensive to replace, so it is best to check Most manufacturers of this type offer a lifetime warranty for their product so it is best to check if you still have a warranty.
Before you begin, take a hand towel or washcloth and lay it flat on your sink to cover the drain and catch any parts that may fall in. If you are not sure what type of faucet you have, it would be best to open it up and check the inside of the faucet.
How to fix a leaky kitchen faucet single handle
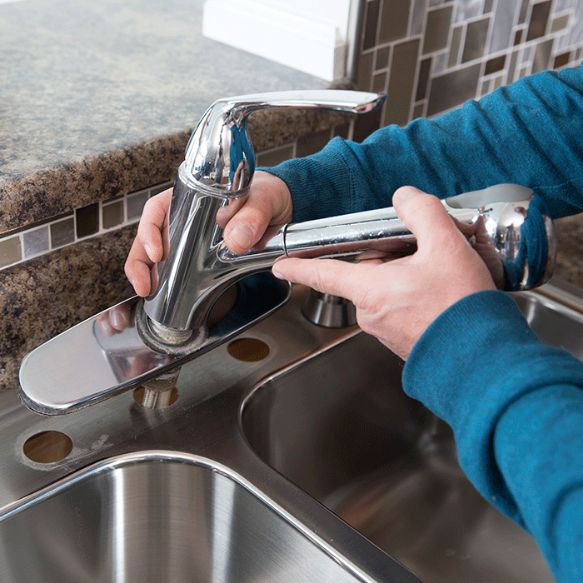
Step 1 – Remove the handle
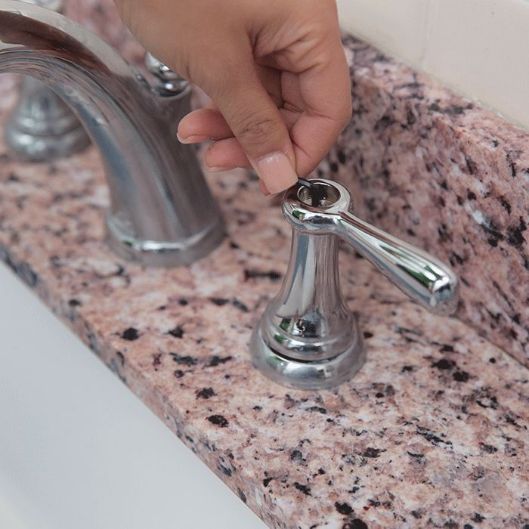
Source: Pinterest
Remove the circular cap with the brand name cap or a sign for hot or cold on the handle of the faucet itself. Once you remove that, you should be able to take a look in the handle and see if you would need an Allen wrench or screwdriver to loosen the set screw and remove the handle.
Step 2 – Remove the cap or trim ring

Source: Pinterest
Once the handle is off, you should be able to verify the type of the faucet. The next thing you need to do is remove the cap by hand by turning it counterclockwise or if it is too tight to turn. Use a pipe wrench to loosen it; you can put a washcloth in between the cap and the wrench to prevent scratches.
Step 3 – Remove the control cam and valve/ cartridge/ disk or washer
Source: Pinterest
After removing the cap, remove the water control cam. That is the piece of rubber holding the valve assembly in place. Once you remove the cam, you can take the assembly out of the faucet and double check it for any problems.
If you see that the valve or cartridge is too dirty or too damaged to fix just buy a new one at your local hardware store. Take the parts to your local hardware so you can easily find the replacement parts that you need.
Step 4 – Remove the valve seats and springs
Source: Pinterest
Now you should be able to see the inside of the faucet body itself. The valve seats should be visible; two black rubber rings positioned on either side, one for cold and the other for hot.
These sometimes get worn out and are known to be the most common cause of leaky faucets.
To remove the valve seats directly insert an Allen wrench or flathead screwdriver into the seats and gently lift them out.
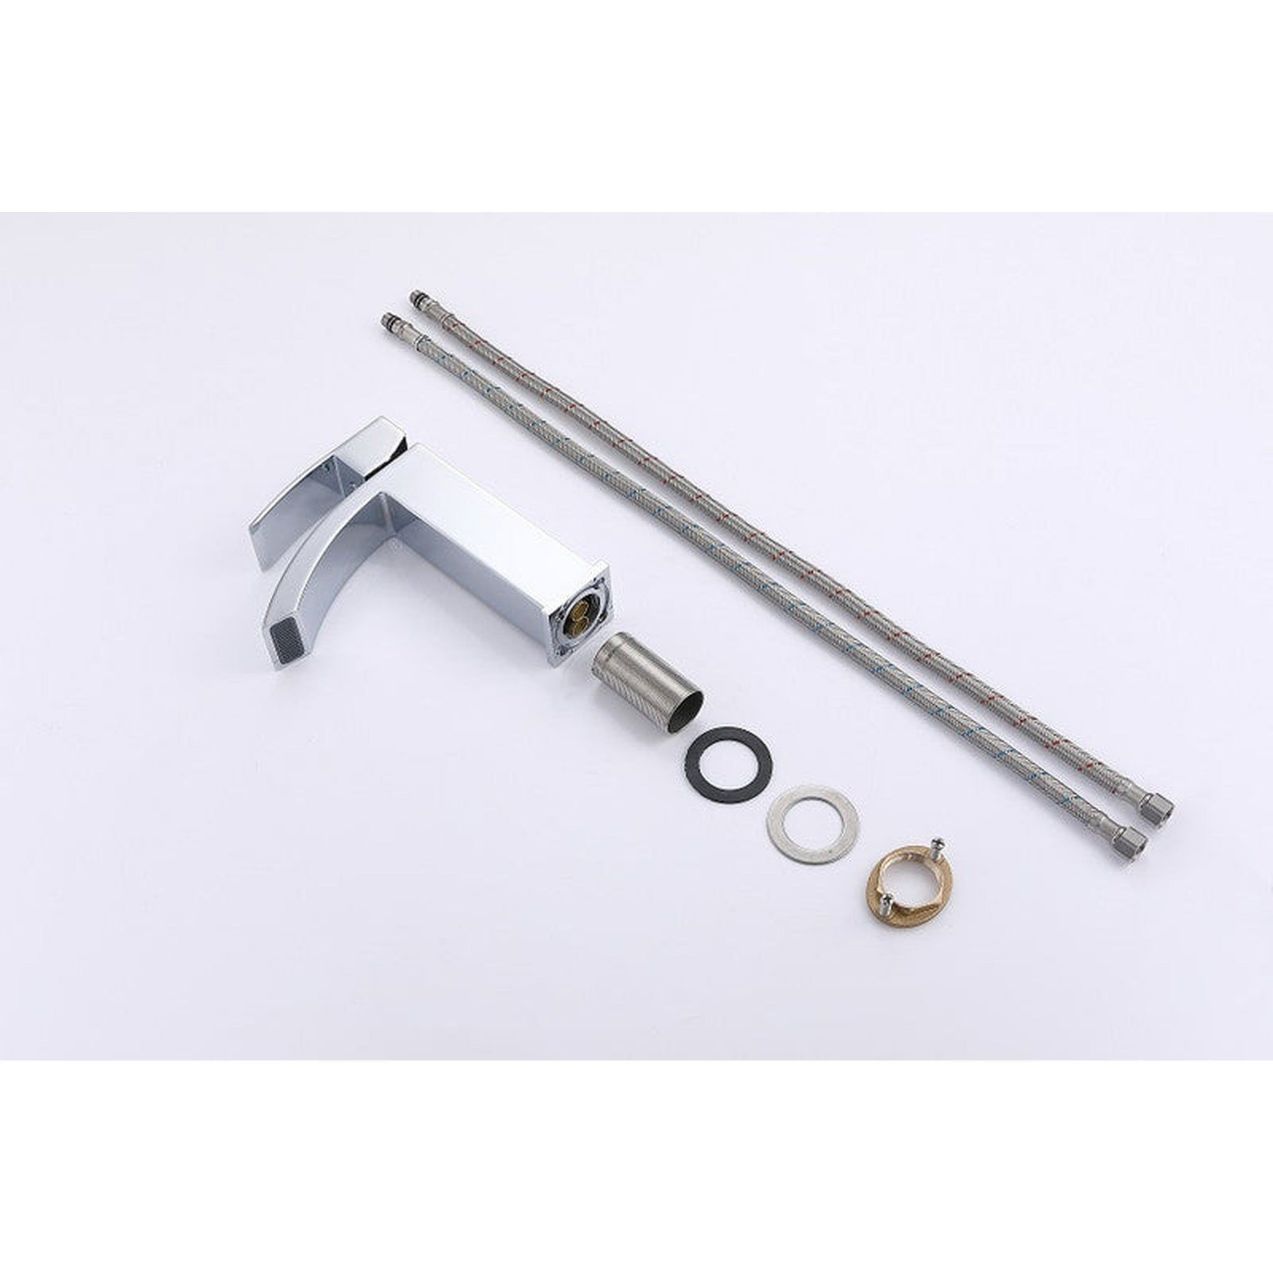
You can certainly choose to only replace the valve seats or the damaged part, but It is best to replace all the internal components, just buy a faucet repair kit to have an entirely new inner mechanism for your faucet.
Step 5 – Repairing leaks at the base of the faucet
Source: Pinterest
In case you are experiencing leaks at the bottom of your faucet, just lift up on the spout and slide it off, then replace any rubber o-rings. Then just add some plumbers grease and replace the spout.
Step 6 – Install the new parts
Source: Pinterest
Once you have purchased the faucet repair kit, go ahead and install it on your faucet body. Put new valve seats in the new springs and pop it into place with your finger. Replace the ball valve, cartridge or ceramic disk and reinstall the washer and control cam.
Then all you need to do is put the cap back and turn it clockwise by hand to tighten it into place. Just line up the handle and tighten the set screw.
Conclusion:
Not dealing with a leaky faucet can cost you a lot of money on your water bill. Taking 30 minutes out of your day to fix a leaky faucet is time well spent, and you will thank yourself for not calling the plumber right away.
It is a simple process, just follow the steps above on how to fix a leaky kitchen faucet with a single or double handle. If these tips aren’t enough to fix your problem, you can shop new faucets and other kitchen essentials at ArchiPro.
For more amazing ideas you can have, visit Guy About Home today or you can check the related blogs: