
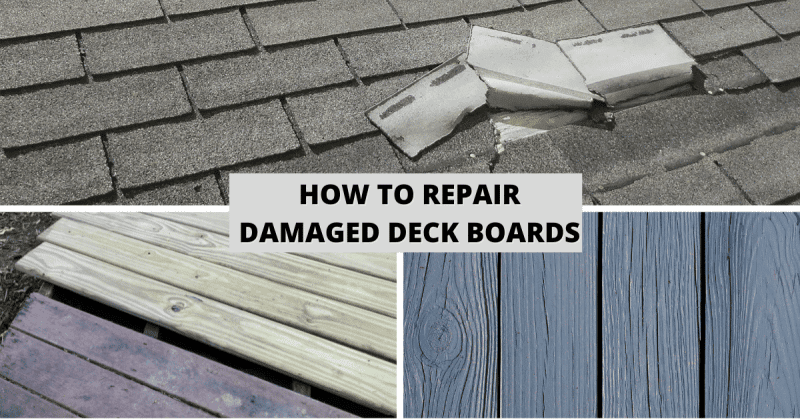
Owning a beautiful deck can be a source of pride for most homeowners. The deck is a wonderful spot to enjoy the outdoors. It is an extension of the indoors, outdoors. Not everybody can afford to install and maintain an excellent wooden deck .

Deck’s are generally built at an elevated height from the ground. It is usually a direct extension from the backyard door. Technically since the deck is outside of your home, there are a lot of things to consider when decorating your deck.
Thank you for reading this post, don't forget to the best blogger Guy About Home who offers the best garden and home improvement tips! If you are a home decor and design fan, don't miss the tips on home ideas. If you are a home garden owner, then you might be interest in our complete guides to house plants!
Wooden decks provide a lot in return for the investment that you put into it. If not meticulously maintained by periodically checking if the deck sealant is still suitable or not, your wooden deck will slowly fall into ruin.
Deck sealant is essential to keep moisture from seeping into the wood and avoiding rot.
In case you forget to re-apply deck sealant on time and a couple of wooden boards do go bad and begin to rot, it is best to remove those sections of the deck as soon as possible. No, you don’t have to call in a professional carpenter to remedy the situation.
You would have to have the necessary woodshop skills to accomplish this repair. If you pride yourself as a handyman at home, then replacing decking boards should be a piece of cake for you.
In case you have not had any experience changing decking boards then don’t worry, just follow these straightforward step by step instructions to do just that.
Tools to repair damaged deck boards
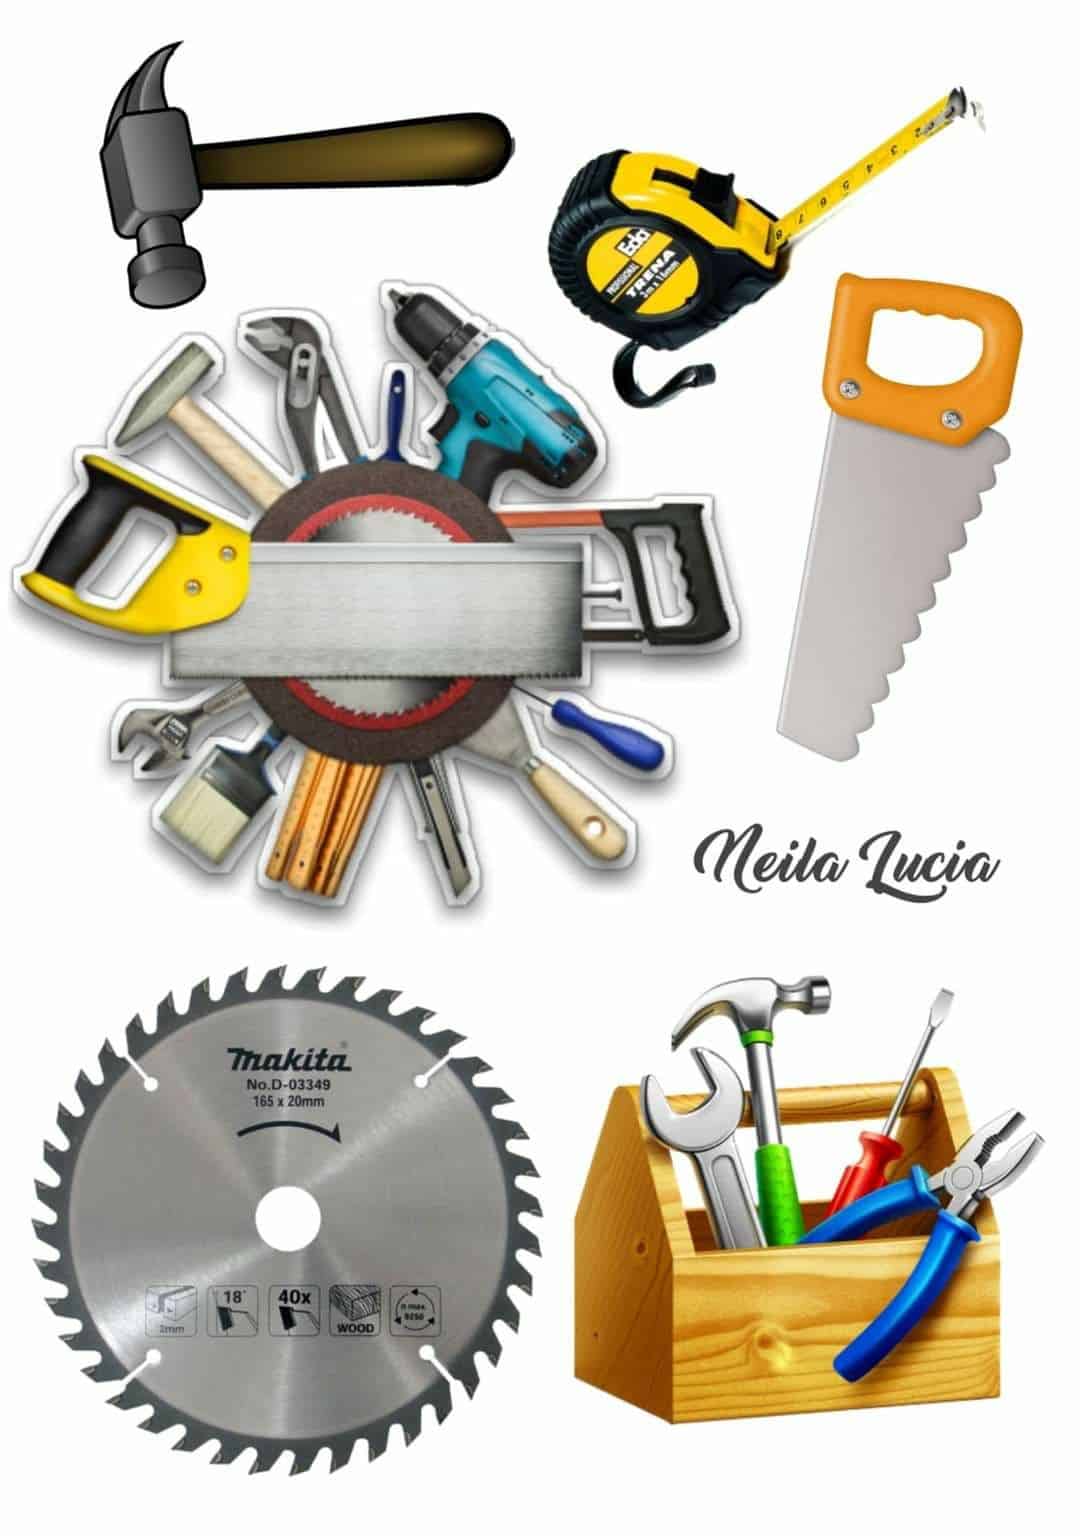
Image source: Pinterest
- Catspaw or Nail puller
- Hammer
- Crowbar, Pry tool
- Tape measure
- Power drill
- Quick square
- Pencil
- Circular saw
- Oscillating power tool
Gather all the tools you would need to complete this project. It is always best to do this before the actual repair process has started to avoid any unnecessary interruptions that will interfere with your momentum.
The power tools indicated above are optional of course, if you do not own a circular saw, multi-tool or oscillating power tool, then that is fine. You will just have to saw the wood the old fashioned way and make do with a regular hand saw.
Step 1 Single out the rotten boards
Naturally, the first step in repairing damaged deck boards is to select and not which ones need replacing. Most of the time, damaged or rotten boards are painfully obvious. You can easily see the wood falling apart or the rot just eating into the wood.
To locate damaged boards that are not so obvious, you can use your body weight to test each wooden plant for rot. This is what is called the boot test. You just put your foot down on each plank that you suspect might have internal decay and push down with your weight.
If it buckles, creaks or worse if you can visibly see the wood giving in to the weight of your boot then that is a sure indicator that the wooden board is damaged and needs replacing. You don’t necessarily need to replace the whole length of the wood plank.
Double check each section of the wooden plank to gauge up to where the rot is. Use a pencil or permanent marker and mark each end that is rotten and needs replacing. Make sure to mark the corrupt board from one joist to the other, placing each mark in the middle of the beam.
The joist is the spine of the deck and is used to solidly nail or secure each wooden plank.
It is essential to make a mark that is at a ninety-degree angle; you would need to use a quick square to ensure this. Do this same method when marking all the boards that need replacement.
Once you are done with the boot test and have appropriately marked each one, you will need to measure the length of each section that needs replacing and keep that list for later when you need to cut the replacement boards.
Add all the measurements together to find out the number of full-size boards to order. Then you will need to drop by your local lumber yard and purchase as many boards as you need.
Step 2 Cut the Rotten boards
In this stage, you will need to use a multi-tool or an oscillating power tool to cut the damaged sections on each wooden plank easily. It is vital to cut the damage sections from one joist to the other and make sure to cut mid joist just before the nails or deck screws.
Set the damaged sections aside or use them as a guide when cutting the replacement boards.
You can also just use the measurements you initially took when cutting the replacement boards from the brand new planks fresh from the mill.
After you have used your circular saw or hand saw and have successfully cut the new planks to length then it now time to install the new boards on each section they are supposed to go in.
Step 3 Secure the replacements
The wooden planks purchased from lumber yards usually come pre-treated with sealant. If not you would need to give them a coat of the finish you want or just directly coat the boards with deck sealant yourself before installation.
Once the board have been given a coat of deck sealant, it is now time to install the replacement boards. Carefully mount the entire length of the replacement board in place.
Before securing the boards with nails or deck, screws use shingles to get an approximate measurement of the gap in between each board. Try your best to copy the same difference on each side for each of the new boards.
For shorter boards, it is best to secure one end first. Use the same type of fastener being used on the rest of the deck. So if the wooden planks in your deck are nailed in then use the same kind of nails, if it is screwed in then use deck screws instead.
Once one end is securely fastened then do the same to the other end. For longer replacement boards that span several joists, you would need to secure one end first. Double check the spacing of the gaps as you go along.
Secure the replacement board along each joist until you reach and secure the other end. Try your best to nail or screw it at a ninety-degree angle. If the beam won’t permit the ninety-degree angle then fasten or turn at an angle to get into the joist.
Conclusion:
A damaged deck can be a massive eyesore. Take the time to replace the rotted sections on each wooden plank before the rot spreads. Destroying the whole length of the plank. Follow the steps above to replace damaged boards quickly.
It won’t take that long to replace the boards and get your deck looking fantastic again. Keep a calendar to apply deck sealant to better protect your wood deck from the elements. This will prevent your wooden deck from absorbing too much moisture and thereby causing rot.
For more amazing ideas you can have, visit Guy About Home today or you can check the related blogs: