Thank you for reading this post, don't forget to the best blogger Guy About Home who offers the best garden and home improvement tips! If you are a home decor and design fan, don't miss the tips on home ideas. If you are a home garden owner, then you might be interest in our complete guides to house plants!
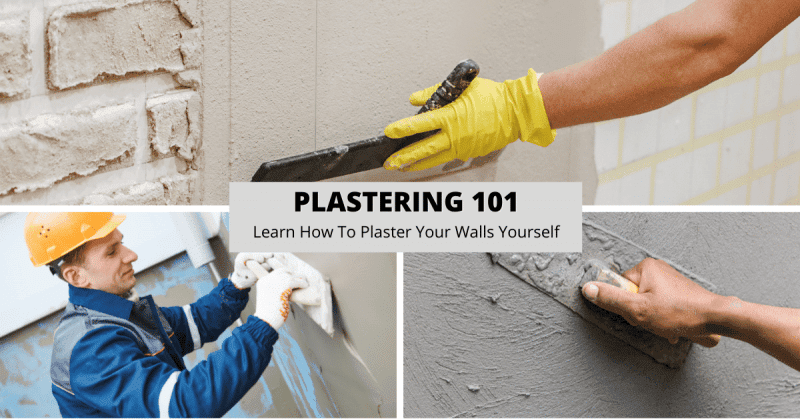
If you’re tired of your old textured walls or merely want to cover up unsightly blemishes, then refinishing your walls with plaster is the answer. Rather than hiring a contractor, consider taking on this project yourself.

Hiring a professional taper to apply plaster on your house walls cost thousands. Choosing to do it yourself will not only save you money but also allow you to gain valuable experience. This way you will be ready for when you need to do a similar project in the future.
It does take some practice to become a skilful taper. That’s a given, but with enough practice, you can master the art of skim coating your walls with plaster. There are two methods in skim coating walls.
The first one involves using a paint roller as the applicator and a squeegee knife also known as a magic trowel; it is more straightforward and perfect for beginners. Once you have that mastered, then using a trowel and a skimmer plate would be the next step.
Tools to Prepare
- Painters tape
- Tarp or plastic to cover the floor
- PVA primer
- Two Paint rollers
- Wooster brush
- Two Five gallon buckets
- Metal paint mixer that attaches to a power drill
- Bucket of clean water
- Squeegee knife or Magic trowel
- Spray bottle with water
How to plaster your walls
Step 1 Cover the floors and furniture
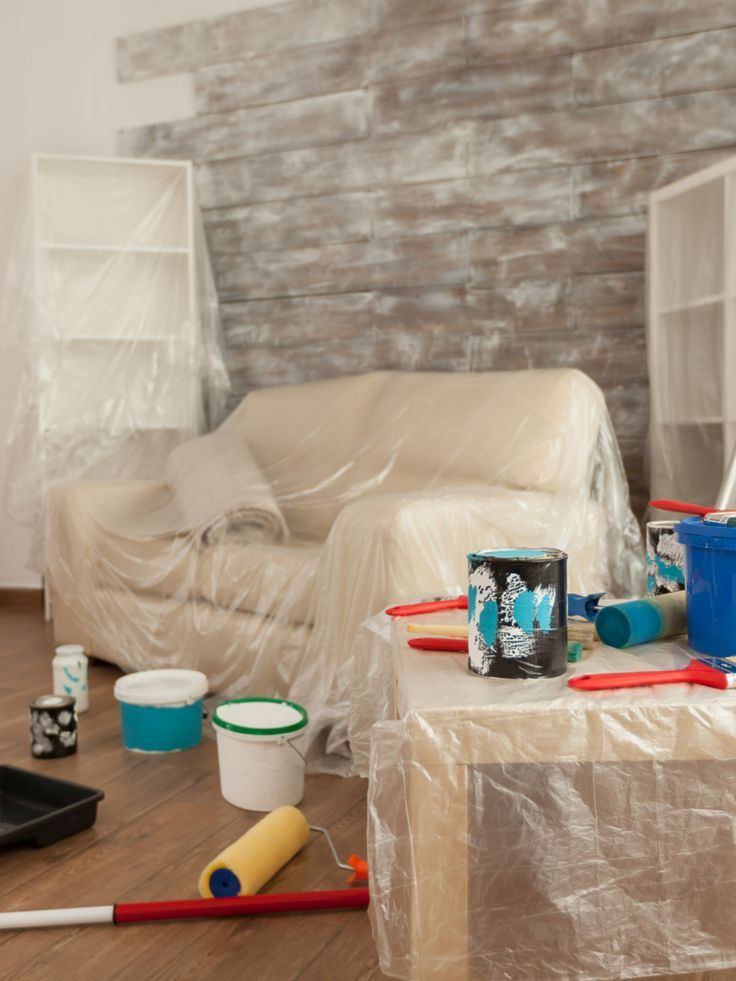
Image Source: Pinterest
The first thing you need to do is protect your floors and furniture. If at all possible, temporarily relocate any furniture from the room that you will be skim coating. Completely cover the floor with a large tarp, plastic cover or drop cloth.
Properly secure the tarp or drop cloth with painter’s tape or something similar to hold it in place. This precaution will prevent any unnecessary clean up later, not to mention safeguard your floors and furniture from any possible damage.
Step 2 Patch any holes

Image Source: Pinterest
To fix cracks in your wall, you will need to use some lightweight spackling paste. Using a putty knife, merely apply it directly to the wall and wait for it to dry. Sand it smooth, apply a second coat of spackling then sand it one more time. No need to paint since you will be skim coating.
For small holes, it is best to use some form of expanding foam insulation. Apply it directly to the hole and wait for it to dry then cut out the excess with a putty knife. Then using a putty knife or trowel apply some joint compound to smooth over the newly repaired area in the wall.
Step 3 Clean the wall
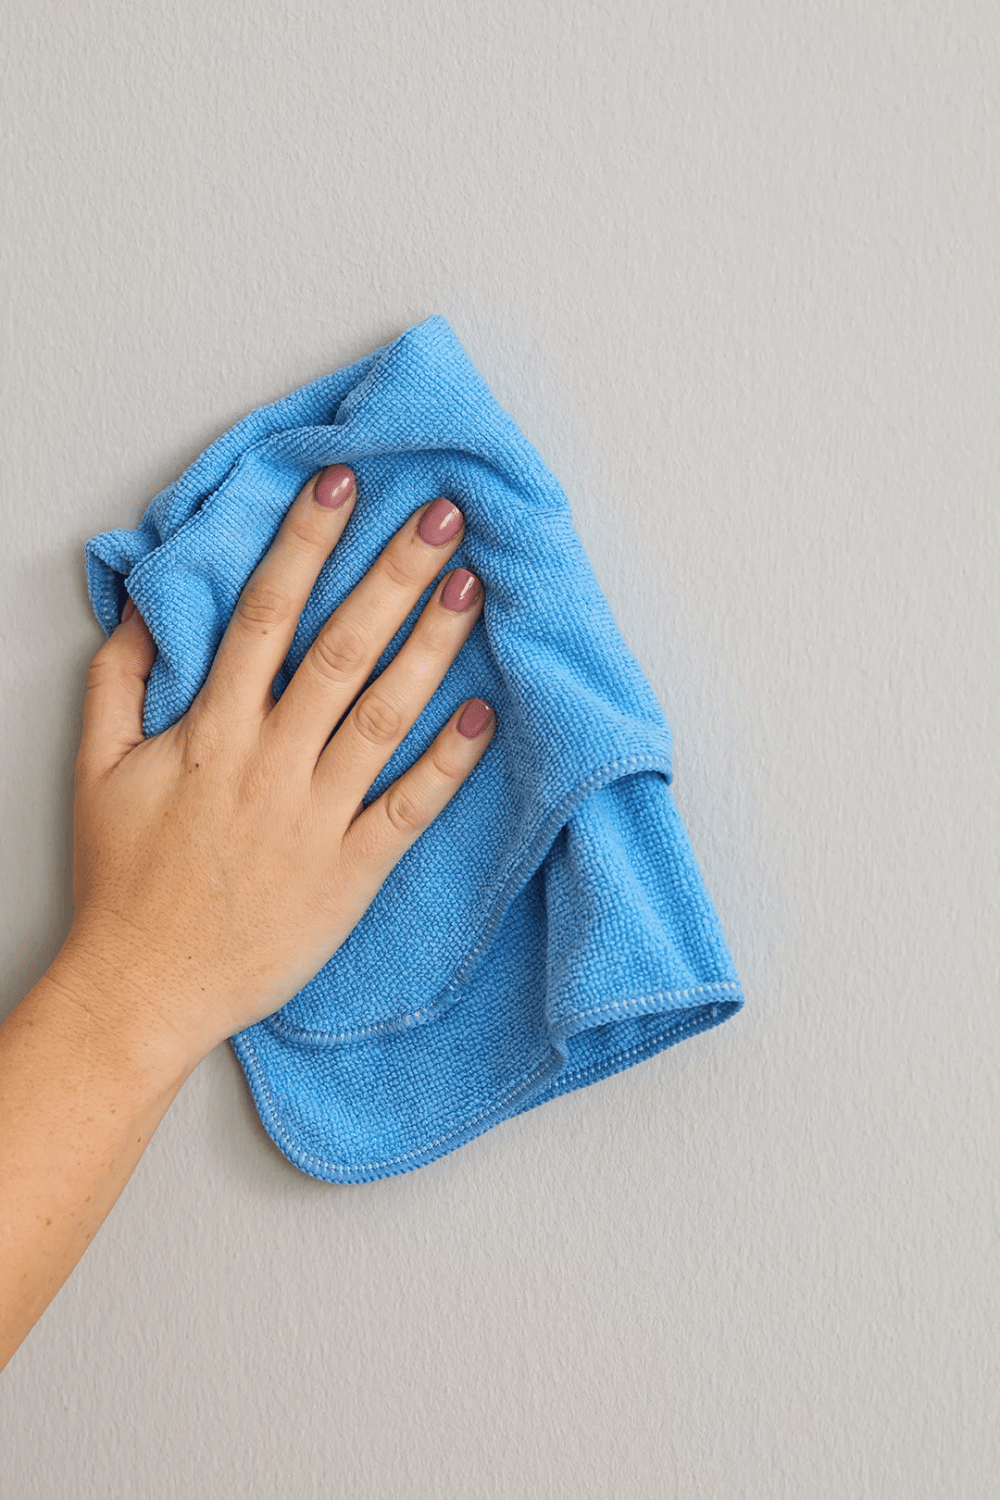
Image Source: Pinterest
It is essential that you thoroughly clean the wall to remove any dust and debris. Scrub the wall with a bristle brush, preferably one with a long handle to get to hard to reach areas.
In case you do not have a long-handled bristle brush, use a stable ladder to reach and clean the top of the wall. This will adequately prepare the wall for the primer then the joint compound. It will ensure your work will not be negatively affected by any loose materials on the wall.
Step 4 Apply Primer
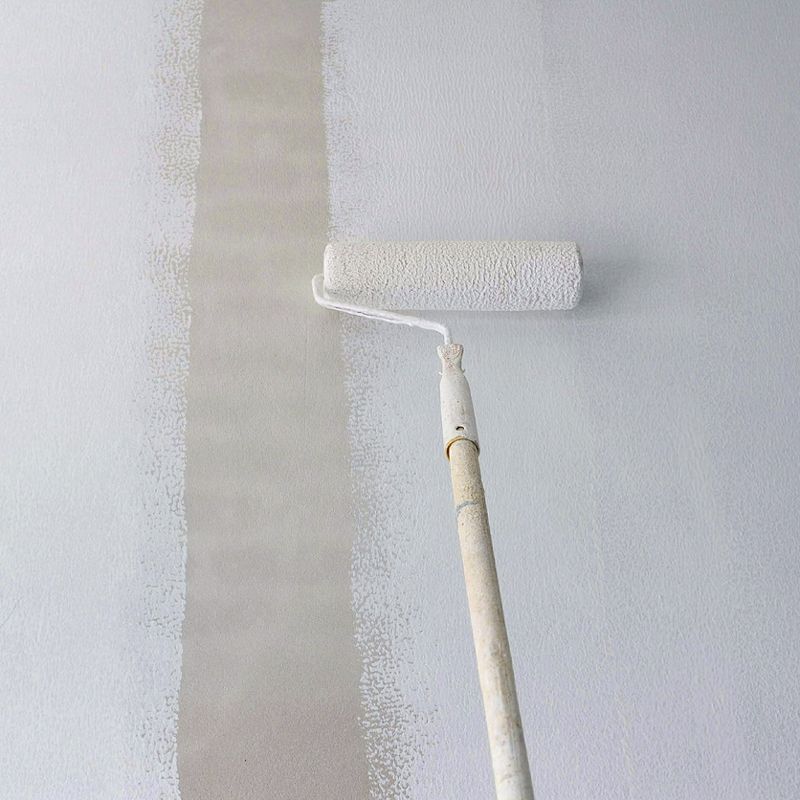
Image Source: Pinterest
Once all the holes are repaired, it is now time to apply the primer. You need to use PVA(Polyvinyl acetate) which is glue and adhesive to prime your walls for the joint compound to properly stick to the wall. Without it, the plaster will fall off your wall.
First, you need to mix PVA with water. The rule of thumb is for every part of PVA, mix in three parts water. So it’s a ratio of 3:1, you can mix it in a large empty bottle, it will be easier to shake well to get a right mix.
Pour the mixture into an empty bucket or painter’s tray. Use a paint roller with a long handle or use an extension pole to make your regular sized roller long enough to do the whole wall. Position the Wooster brush inside the bucket.
Dip the paint roller into the bucket and roll it through the Wooster brush to get the excess paint off the roller. Start on the top left part of the wall and proceed to apply the primer to the whole wall.
Work in long sweeping motions from top to bottom and make sure you give the whole wall an even coating of PVA. Wait until the first coat is dry then for good measure apply a second coat of PVA.
After applying two coats of PVA wait until the surface of the wall is sticky, not wet but sticky. This is the ideal time to start your skim coat. It will ensure your walls will be more than ready for the skim coating.
If you were able to acquire two sets of paint rollers and Wooster brushes then great, just use fresh new ones to apply the joint compound. If not then take the time to wash the paint roller and Wooster brush you just used to apply the primer.
A hose would be best to clean these tools out, or water from a running faucet is another option. The last resort would be a bucket or two of water to rinse those tools out and get them ready for use in the next phase of this project.
Step 5 Apply the plaster
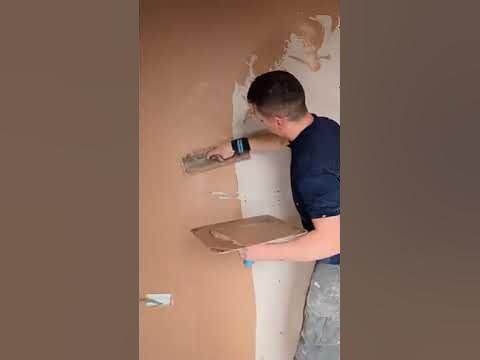
Image Source: Pinterest
Pour out the joint compound into a five-gallon bucket and add some water. Use the metal paint mixer and attach it to your power drill and mix it starting from the bottom of the bucket. Add just enough water to blend the “mud” into the consistency of yoghurt.
Once the joint compound is ready to be used, position the Wooster brush in the bucket. With the extension pole on the paint roller dip the paint roller into the bucket with the joint compound. Completely submerge it and roll it along the Wooster brush to remove the excess.
Now apply the joint compound to the newly primed wall as if you were painting that wall. It is that simple.
Instead of being forced to use a trowel and hawk-like professional tapers or contractors do, use a paint roller to apply the joint compound to your wall evenly. As you use the squeegee knife, merely scrape the excess mud onto your mud pan.
Step 6 Use Magic trowel or Squeegee knife
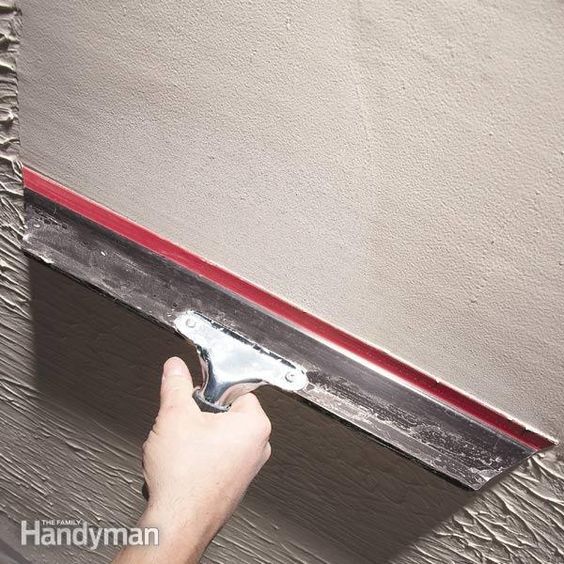
Image Source: Pinterest
Once you are done applying the first coat of joint compound to the wall, go ahead and use your squeegee knife otherwise known as a magic trowel and start smoothing out that wall. Begin on the bottom left part of the wall using long strokes that go all the way to the top of the wall.
Work your way from bottom to the top, working in columns, moving to the right. When sliding the squeegee going up, hold the squeegee at a slight angle, slightly lifting up the right side of the magic trowel.
Apply slight pressure with your thumb on the left side of the squeegee. This will prevent any lines from forming on the right side when you are skimming the top surface of the joint compound making smooth. Try to make it as smooth as possible.
Step 7 Let it Dry then apply a second coat
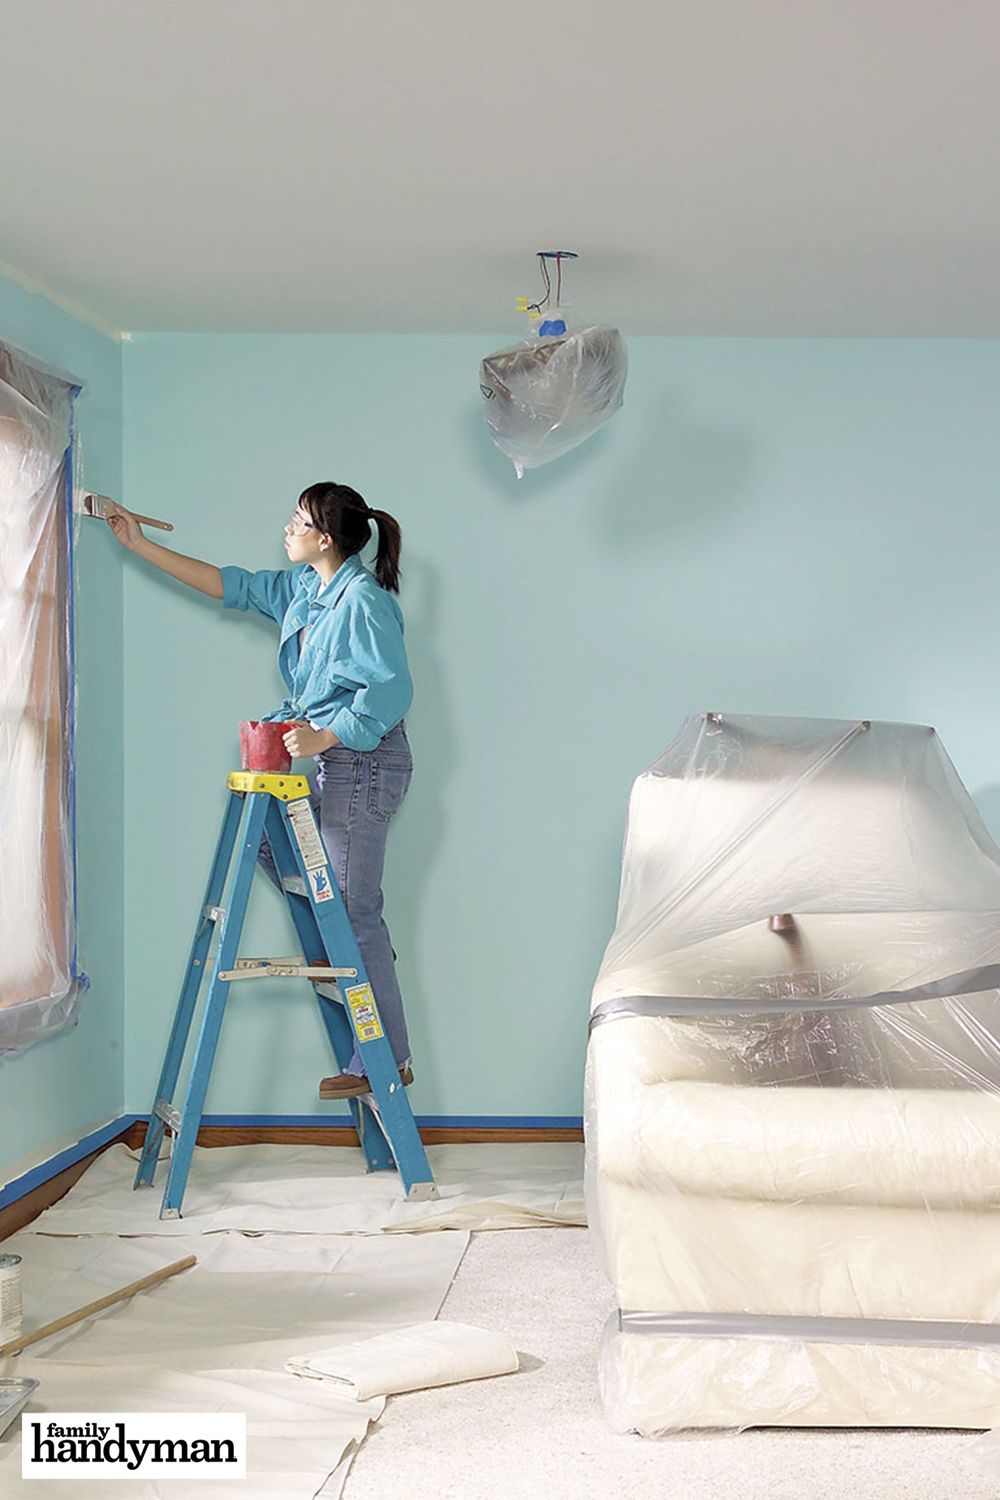
Image Source: Pinterest
Wait a maximum of about twenty minutes to let the first coat dry. Before applying the second coat take care to remove any lines or small bumps. Best to use your putty knife and slide then edge on the surface to remove any lumps or imperfections.
Once you have removed any noticeable imperfections on the first coat, then it is now time to apply a second finishing coat of joint compound. Apply the second coat the same way you did the first. Use the paint roller technique and apply a beautiful even second coat on the wall.
Step 8 Smooth it out to a nice finish

Image Source: Pinterest
After applying the second coat, use your magic trowel and just as before starting from the bottom going up. You can also start from the top going down, either one works. Use the same technique as before and using your thumb apply some pressure on the left side of the squeegee knife.
It is vital that you be meticulous during this last process. Make sure to use the squeegee knife or trowel to smoothen the wall thoroughly. Spray some water on lines or blemishes and run the trowel over it to smoothen then out.
Exert some force on the trowel in this final step to make sure that the mud is nice and compact on the wall. Once the plaster dries and you see some flaws, use one hundred grit sandpaper to remove any lines or lumps.
Conclusion:
Learning how to plaster your walls is easier than you think. If you’re tired of the texture of your old wall and want to refinish it, then I recommend you do the skim coating yourself. You will save thousands by doing this project yourself.
You will gain valuable experience. Avoid any mishaps by using this paint roller method as an easy hack to skim coating your walls. Maybe you can graduate to using a regular trowel and hawk when you are more confident in your skim coating skills.\
For more amazing ideas you can have, visit Guy About Home today or you can check the related blogs: