

You should know that a kitchen is not merely a place where you prep foods, but it’s also a place where family bond deepens.
Thank you for reading this post, don't forget to the best blogger Guy About Home who offers the best garden and home improvement tips! If you are a home decor and design fan, don't miss the tips on home ideas. If you are a home garden owner, then you might be interest in our complete guides to house plants!

But the catch here is that maintaining the kitchen clean is not really a favorite chore due to many spots to clean and maintain.
That said, you don’t need to worry anymore because there’s actually a way to make things easier and convenient. In this article, we’ll walk you through a step-by-step cleaning checklist. Here’s where you want to start:
1.) Gathering the necessary tools and equipment
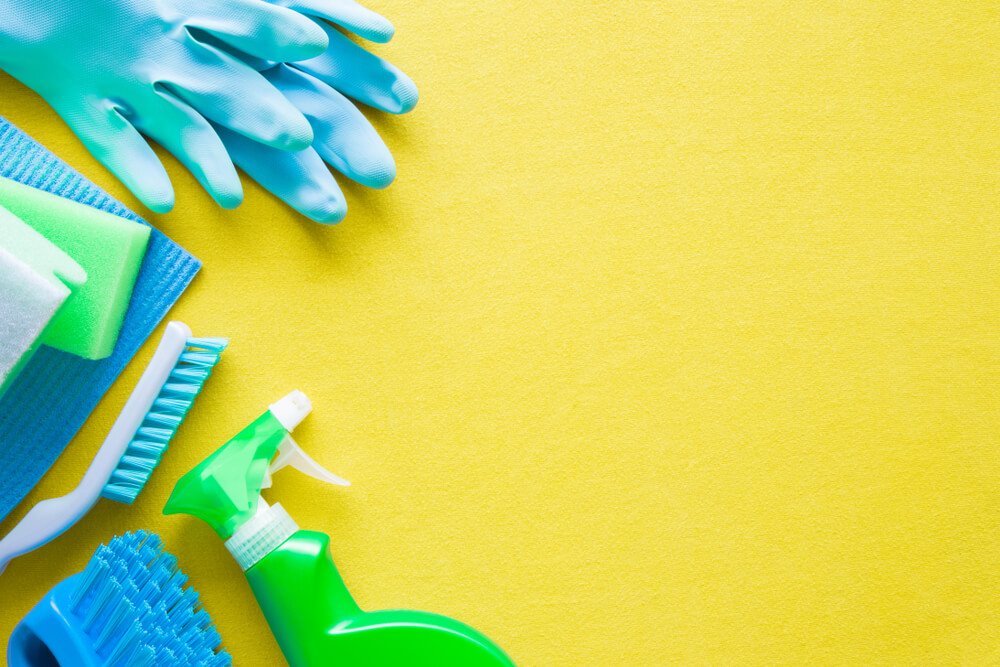
Try to gather all possible tools you need for cleaning your kitchen so you can efficiently work, because simply running around the kitchen seeking for cleaning materials will surely waste you a significant amount of time. In addition, you might get distracted by something else.
Here are the stuff you should have on hand when planning to clean your kitchen:
- Empty box or basket
- Broom or vacuum and a dustpan
- Traditional mop or a steam mop if available, and a bucket
- Telescoping duster
- Basket or caddy for cleaning supplies
- Lysol wipes
- Glass cleaner
- Stainless steel cleaner (for stainless steel stuff)
- All-purpose, non-abrasive cleaner
- Toothbrush
- Gloves
- Cleaning cloths
- Sponges
2.) Uncluttering kitchen countertops
Get rid of stuff that do not belong from your countertops. Put them in an empty box or basket so you can conveniently tuck them away where they must be afterwards.
See, clear surfaces make it a little easier to maintain and clean. Not to mention that organized counters look way better than cluttered ones.
3.) Filling up the sink
Block the drain and fill your sink with soapy water. Put stuffs that require soaking such as dish rack and microwave turntable in there.
4.) Get stuff out of your fridge
Look what’s inside of your fridge and throw out all spoiled or expired foods. If there are foods in your storage containers that must be discarded, throw them into your garbage and put the containers in your sink.
Make sure to wipe down your shelves using a non-abrasive all-purpose cleaning agent and of course a soft rag. Remember to work from top to bottom to minimize useless efforts.
Put the crisper drawer in the sink for soaking. If you don’t want to soak it, simply wipe it out and replace the thing.
5.) Get rid of the dust
Try using a telescoping duster if you have one and dust the kitchen from top to bottom. While doing the task from top, make sure not to forget the light fixtures, the refrigerator, and of course the dusty top of that cabinet.
Begin at one end of your kitchen and work through to the opposite side so you can knock dust to the floor (cleaning your floor is most likely the last step, so don’t worry about messing it up).
6.) Cleaning the upper cabinets
What you want to do here is get a piece of clean cloth and simply wipe down the front of the cabinet, including the microwave (if you’ve got one) and the handles. Additionally, don’t forget to clean the hood, grates, or anything else that are placed up high in your kitchen.
Secondly, spray the interior of your microwave and allow it to sit for a couple of minutes. The next step is to wipe the backsplash with soapy water and a clean cloth. After this, go back and make sure to clean the interior of the microwave.
7.) Cleaning the stovetop
You don’t really want to consider your kitchen cleaning checklist a “checklist” if you don’t deal with the stovetop. With a dry cloth, brush those loose crumbs to the floor. Get rid of the grates from your stove, and then wipe your stovetop using a non-abrasive cleaning agent. If your cloth you’re using becomes greasy, don’t forget to swap it out for a clean one before moving on to the next step.
8.) Washing the dishes
You’ve got two options here: Put them in your dishwasher, or wash them with your hands. Either way will be effective but make sure that you don’t drain the water you used just yet because you’ll be going to use that!
9.) Cleaning the small kitchen equipment
This equipment will most likely include toaster oven, a regular toaster, coffee maker, etc. What you want to do here is to simply get rid of any drip pans or crumb trays and put them in the water we previously left in the sink. After letting them sit in there for a few minutes, wipe their outside surfaces by spraying cleaner onto a clean cloth rather the equipment itself. Next is to rinse and dry the pans or trays in the sink and replace them inside the small kitchen equipment.
10.) Your full sink
Don’t forget to drain your sink and rinse with hot water to sterilize and eliminate those unnecessary grease and oils. Scrub its basin using a cleaning agent then simply rinse. Afterwards, get to the sink’s faucet and handles and clean them up.
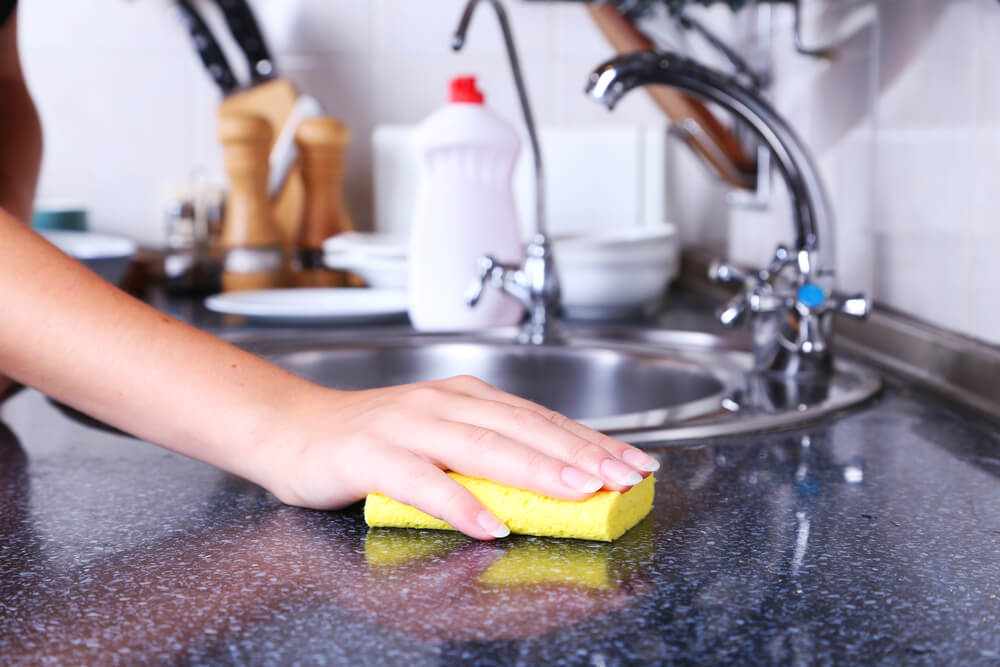
11.) Cleaning the countertops
Spray your countertops with a cleaning agent and thoroughly wipe them clean. While doing this task, don’t forget to use an appropriate cleaner for your counters to prevent corrosion or the like.
12.) Wiping down your lower cabinets
Clean the front of your drawers and cabinets particularly its pulls and handles.
13.) Dealing with the large kitchen equipment
After making your lower cabinets, go and move on to clean the handles and front of your large-sized kitchen equipment which include your fridge, dishwasher, and the oven. With a soft toothbrush, clean the dishwasher doors and seals of the refrigerator.
14.) Cleaning the floors
Sweep or vacuum, and mop your floors. Put any dust or certain debris you gather from vacuuming into the garbage. After ensuring that there’s no any sign of dust, mop your floors.
15.) Emptying the trash bin.
As for the last step on this kitchen cleaning checklist, wipe down the outside surface of your trash bin and its lid. If you have Lysol wipes, it would be much better. Throw out the used wipes and get the trash bag from the bin, and then just place a new one.
And that’s it, you’re good to go. Just thoroughly wash your hands and relax. Surely, you’ve earned the fruit of your hard-work.
Conclusion
So guys, what do you think? Isn’t cleaning your kitchen seems really easy? Well, it actually is! No matter how you look at it, having a checklist before doing any seemingly-daunting task will make things easier and hassle-free.
I know that by just looking at the list we mentioned above, you just imagine how things will be easy if you made a checklist of your own (you can use ours by the way).
Now that you’ve learned some easy kitchen cleaning checklist, it won’t take you an entire day to clean your lovely home since you’ll be working in an organized manner.
If you’ve got any opinions about our discussion today, please feel free to comment down below.
For more amazing ideas you can have, visit Guy About Home today or you can check the related blogs: