
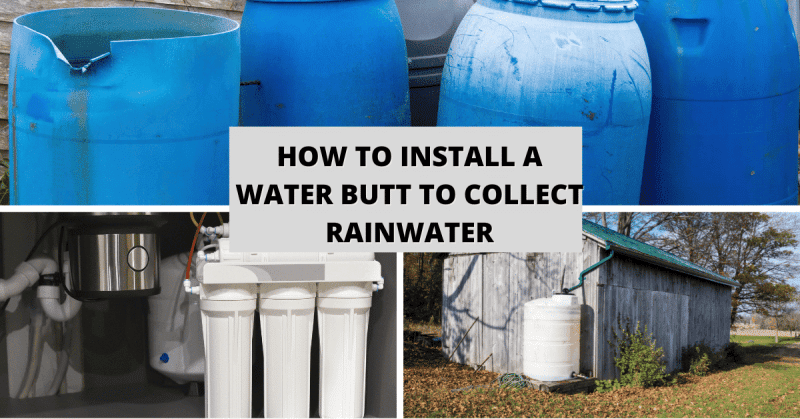
Since establishing a rainwater collection system is definitely a great idea, you might have thought about how to collect rainwater.
You type your queries on Google, and then you come across water butts and decide you want to execute this Do-It-Yourself project, but have no idea how. This guide, then, is certainly for you! But first off, let’s begin by debunking a common train of thought.
Thank you for reading this post, don't forget to the best blogger Guy About Home who offers the best garden and home improvement tips! If you are a home decor and design fan, don't miss the tips on home ideas. If you are a home garden owner, then you might be interest in our complete guides to house plants!

The Real Purpose of a Water Butt
Though it’s basically considered recycling, there can be a wide array of reasons why one would get a water butt (a.k.a. a rainwater tank or rain barrel in other countries). The primary reason, however, should be either you want to help the environment, or you realise that it is a better source of nutrients for your garden plants or both!
Though this will undoubtedly save you some cash, considering that tap water for most countries is relatively cheap or sometimes even outright free, it will be a diminutive amount that spans over a long period of time!
There is a reason why it is offered as free by most, if not all, restaurants and pubs by law or even just out of courtesy. If you are one of these people, then you better have the patience for a VERY long run.
The main purpose of a water butt is to collect the rainwater from a pre-installed downpipe in a home. However, they can also be an aesthetic-enhancer of sorts for your yard. While a green bucket is primarily the mainstream look for these tanks, unbeknownst to many, they come in varying styles as well.
A quick search can show us a few of those. There are plant holder designs, terracotta pots, a cabinet-looking water butt, and even one that closely resembles a beer keg; wooden or otherwise!
Don’t get too excited yet. Now, before you begin with installing the water butt, you should gather all the materials. It is recommended to procure everything in the list below;
TOOLS:
- Hacksaw
- Power drill
- Spirit level
- Screwdriver – to secure the fittings, if necessary
- Tape measure
- Pencil or marker pen
If you now have all these tools ready, gather all the materials you will be using for this DIY project. See the checklist below.
MATERIALS:
- Downpipe
- Water butt stand
- Water Butt
- Diverter (rain trap)
- Hose
- Faucet (tap)
- Lid Cover
- Connector Kit (optional, for 2 tanks)
- Water butt pump (optional) – adds pressure to stored water so you can use for cleaning
When you have everything set, you may now proceed to step one.
STEPS TO INSTALL THE WATER BUTT
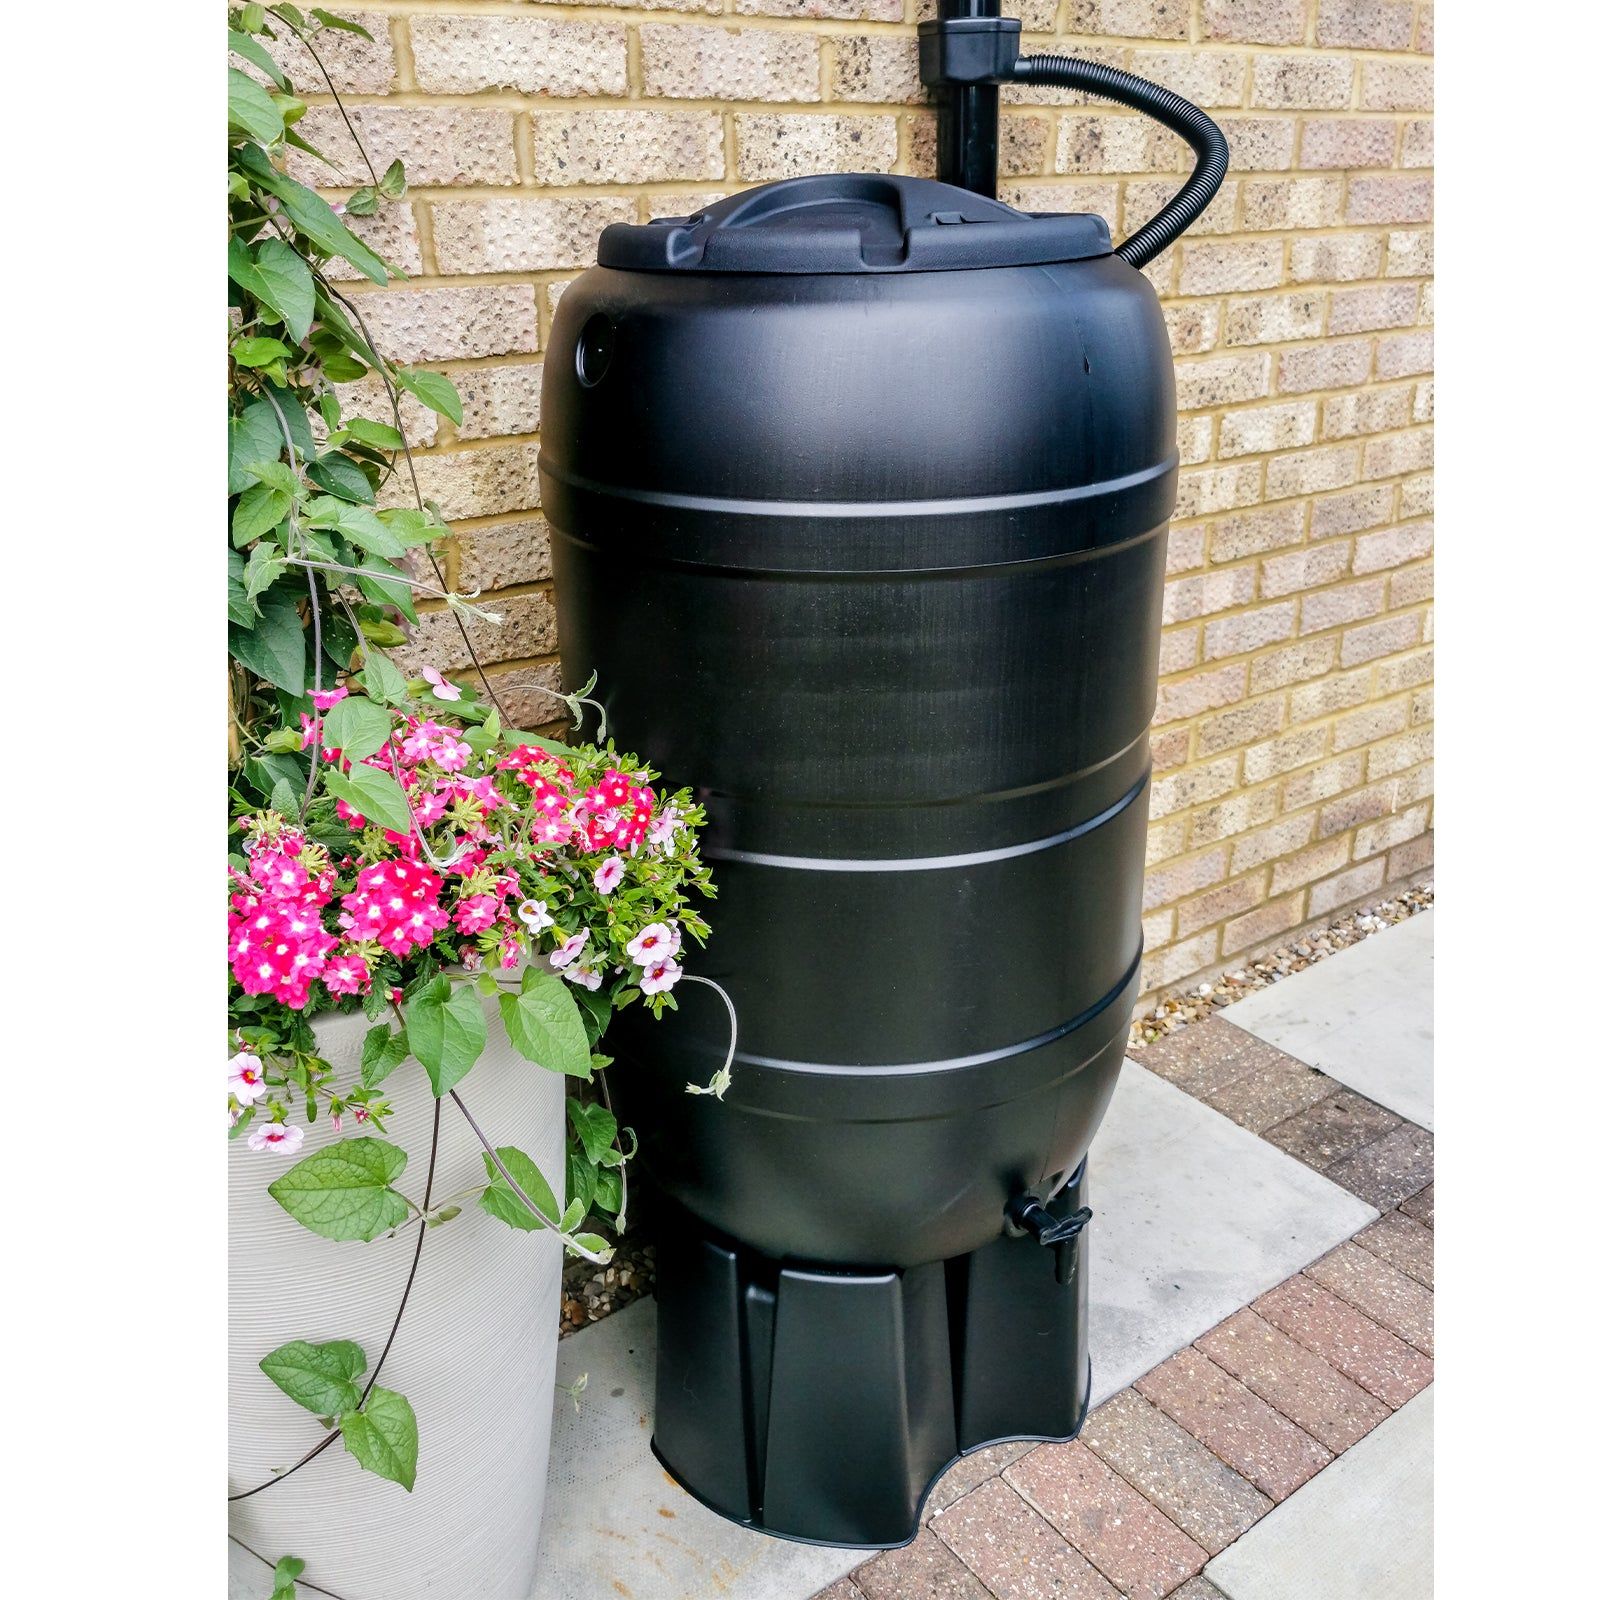
Image Source: Pinterest
Step 1:
Place the water butt stand approximately 500mm close to the selected downpipe and mount the water butt on it.
500mm is the recommended distance as to give proper spacing for a standard hose.
Step 2:
Mark its height on the downpipe with whatever type of marker you see most fitting to use. We suggest a sticker, a pentel pen opposite the colour of the downpipe, a scratch in the surface indicating measure, or some good old-fashioned tape.
Step 3:
Next, cut the downpipe 3 centimetres (cm) below this point with a hacksaw. You may also want to procure appropriate safety gear for this step. Grab some gloves, or depending on the specific kind of tool you’re using, maybe even a face mask.
Step 4:
Attach the rainwater diverter to the downpipe, then fit the cut section of the downpipe onto the bottom of the diverter.
4.1:
YOU MAY SKIP THIS STEP IF YOUR WATER BUTT COMES WITH AN ENTRY POINT FOR THE HOSE ALREADY. This is where the drill comes in. Measure approximately 8cm down from the top of the water butt and mark the spot using a tape measure. Drill a hole for the water butt connector on this spot.
Step 5:
Attach the provided hose onto the diverter, and then insert the other end to the hole of the water butt that is for the tube.
Step 6:
Attach the tap to the bottom portion of the water butt, so as to be able to draw the water content from inside, and seal it with its appropriate piece from the inside. If you are unable to reach the bottom, you might need to either flip the tank or hop inside it yourself to accomplish this step.
Step 7:
Once all of the above is accomplished, remember to fit the lid to close the tank. This is important because it protects children, and even animals, from falling into the tank due to whatever circumstance. Also, it protects the water inside from dirt, leaves, or dust. Thus, leaving the water for your flora sanitary for consumption.
Lock the lid, then you’re now ready to start harvesting rainwater!
While we always have the choice to just grab any rain barrel off the shelf of whatever store, we can’t deny that a reputable brand is capable of giving us a sense of value and security when procuring an item. That said, here are a few known brands that deliver quality for water butts;
BRANDS:
- 3P Technik
- Gutter Mate
- Graf
- Polytank
- Rainwater Terrace
- Algreen Products
- Original Wall Mounted Company
- Stewart Garden
- Whitefurz
- Strata-Ward-Sankey
- Straight-Blackwall-Harcostar
Rainwater is generally free from man-made pollutants, such as; salts, minerals, treatment chemicals, and pharmaceuticals that are found in municipal water, groundwater, and surface water. Rainwater drowns out the salts and compounds that build up in your soil over time. Thus, promoting maximum plant growth. If you’ve ever wondered how to improve garden soil quality, this is the answer.
Plant growth is reduced when using mains water because these contain chlorine and other substances and inhibit the uptake of nutrients. Rainwater is usually softer than tap water and soaks in the ground deeper than a watering hose. Thus, using rainwater is an excellent option for succulent care; as well as all plant-life in general.
To sum it all off, though using a water butt isn’t the best solution for your financial woes, the effort will still be worth it because this is one of the many ways to save the environment. This significant impact from you will save you the water you would’ve used from your tap, make your plants healthier and happier, and you can even wash your car with it!
This then creates an exponential effect if it is also implemented by more and more households, therefore creating an act of kindness towards mother nature on a global scale.
For more amazing ideas you can have, visit Guy About Home today or you can check the related blogs:
- Monstera Borsigiana: A Full Guide For Caring Monstera Borsigiana
- making your compost at home,
- How To Install A Water Butt To Collect Rainwater
- Manjula Pothos: A Full How-to Guide for Manjula Pothos Care
- home-brewed compost tea
- vermicomposting at home
- Rose of Jericho: A Full Guide For Caring Rose of Jericho