
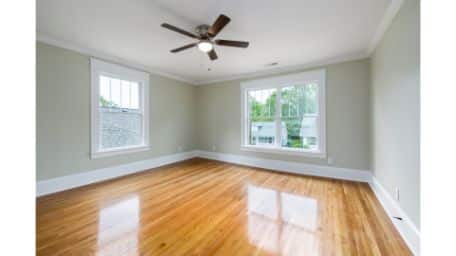
If it gets hot in the summer where you live, a ceiling fan isn’t just nice to have – it’s a necessity! A ceiling fan can make your room feel noticeably cooler, with no need to adjust the thermostat. The blades of the fan create air circulation that can turn a room from stuffy into comfortable.
If you don’t have a ceiling fan where you want one, putting one in isn’t that hard. You just need to have the wiring in place, so you can replace a light fixture with a ceiling fan or replace an old ceiling fan pretty easily. Follow these steps to get the job done.
Thank you for reading this post, don't forget to the best blogger Guy About Home who offers the best garden and home improvement tips! If you are a home decor and design fan, don't miss the tips on home ideas. If you are a home garden owner, then you might be interest in our complete guides to house plants!
Turn Off the Circuit
You should never work on the wiring in your home without first turning off the circuit you’ll be servicing. Go to your breaker box and turn off the circuit you’ll be working on. Test the circuit with a voltage tester and try the lights before you get to work to make sure the power is off.
Extract the Light Fixture
Before you can put in a new ceiling fan, shop for ceiling fans and choose one that matches your home decor. If you’re taking down an old ceiling fan, take it down in pieces – remove the blades and light fixture first and then deal with the motor. If you’re taking down an old light fixture, just remove the screws that fasten the light fixture to the ceiling, pull it down, and pull the wiring out of the electrical box. Disconnect the wiring and set the old light fixture aside. You can donate it or put it up somewhere else.
Install a Ceiling Fan Brace in Your Ceiling
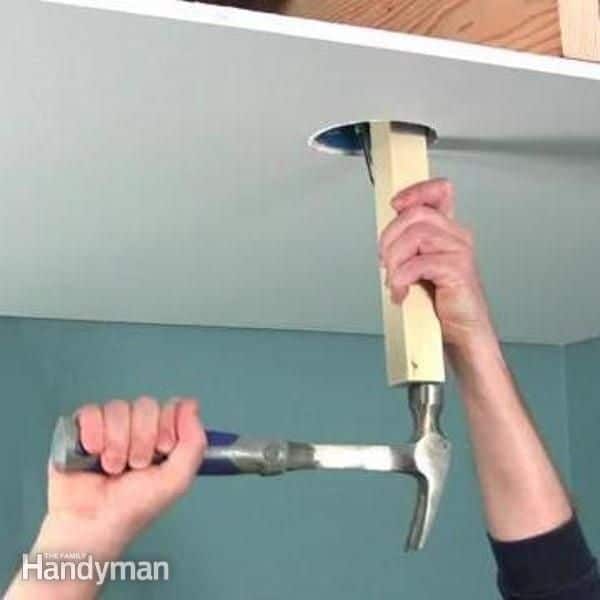
Image Source: Pinterest
A ceiling fan is a lot heavier than a light fixture, so if you’re replacing a light fixture, you might have to put a fan brace in the ceiling. If the fixture was positioned directly below a ceiling joist, you can just screw your new fan right to the ceiling joist. If you don’t have a convenient ceiling joist, you can either cut a new hole underneath the joist and move the fan over, or install a fan brace.
If you can get into your ceiling from above – say, from the attic – you can take a length of two-by-four lumber and fasten that to the joists on either side of the hole. Use 1.5-inch screws. If you can’t get into the ceiling from above, use an expanding metal fan brace.
Put a New Electrical Box in the Ceiling
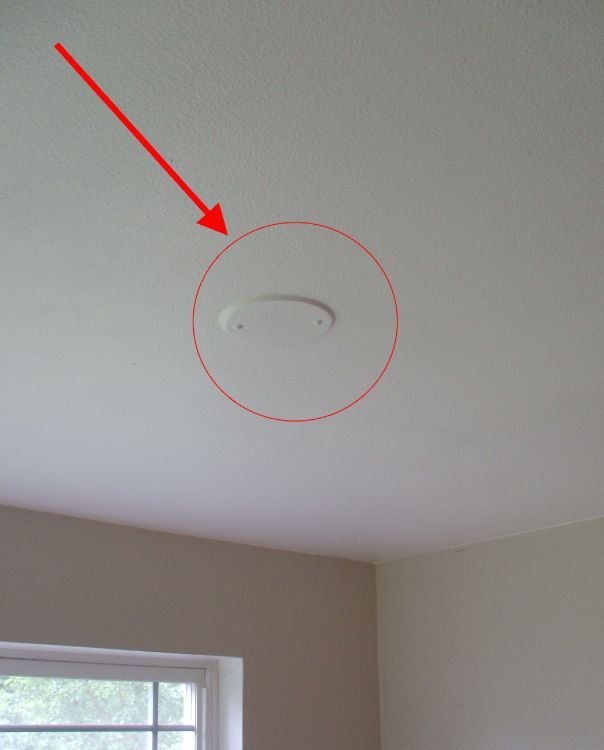
Image Source: Pinterest
Electrical boxes for light fixtures aren’t tough enough for use with ceiling fans, so you’re going to need to install a fan-rated pancake electrical box. Fasten it to the joist or fan brace. Pull the wires from the ceiling down into it.
Use a Ceiling Medallion to Cover the Old Hole
If you’ve relocated your fixture to situate it below a joist, you have an extra hole in the ceiling to cover up. Install a ceiling medallion on your ceiling before you proceed with the ceiling fan installation.
Attach the Ceiling Plate to the Electrical Box
Consult the instructions that came with your fan in order to figure out which part is the fan ceiling plate. Attach it to the pancake electrical box with the screws provided.
Put the Fan Together
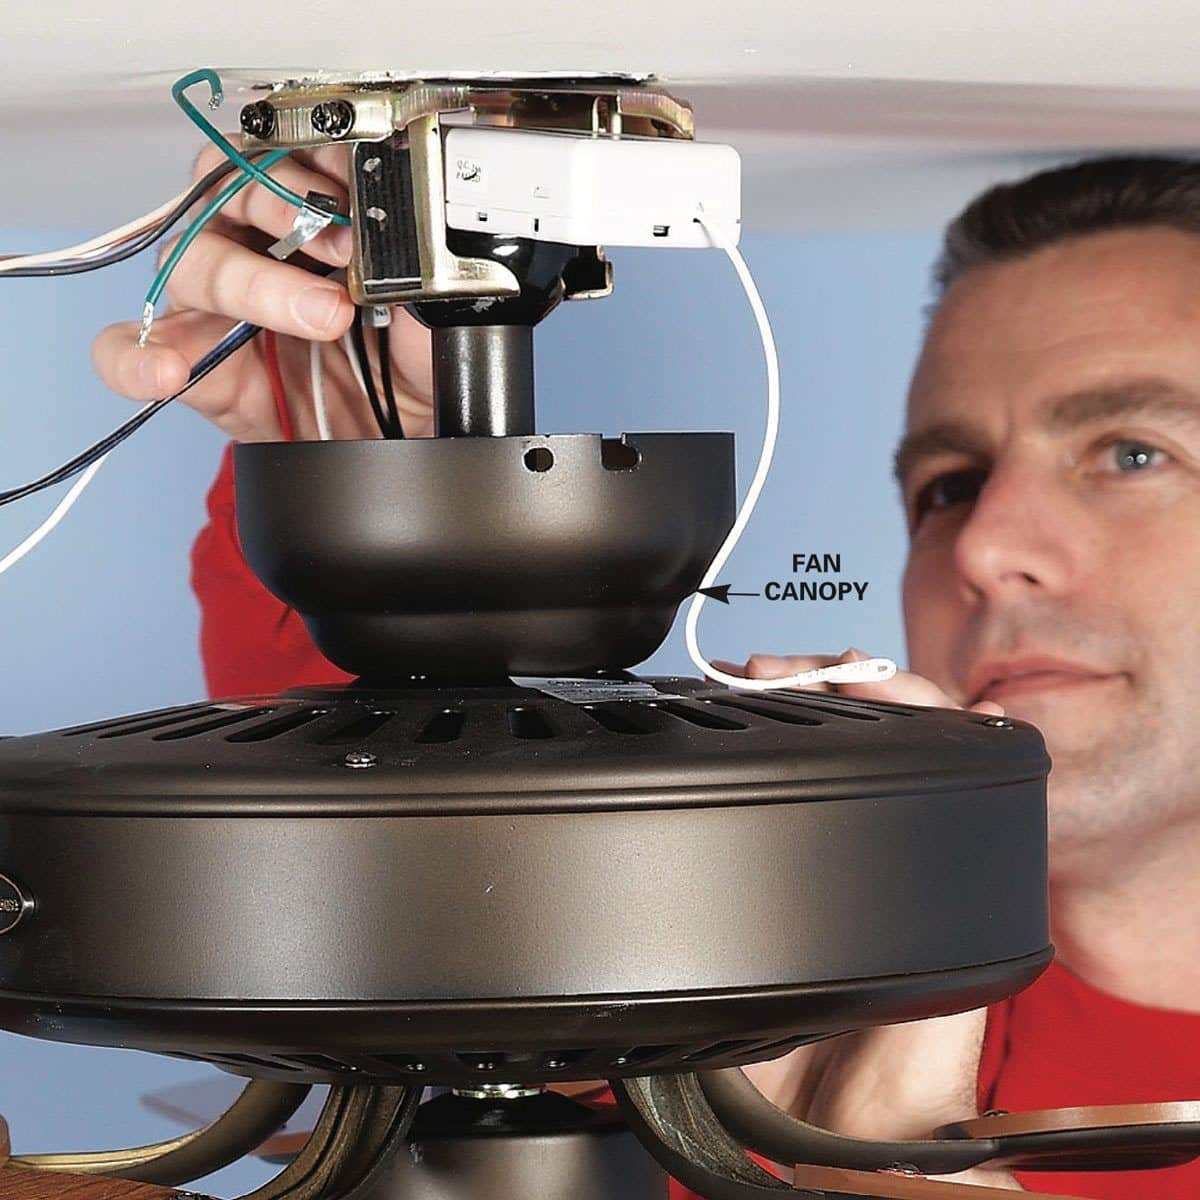
Image Source: Pinterest
The fan motor will require some assembly, which should be done on the floor. If you’ve purchased a fan that comes with a downrod, you will need to pull the wires from the motor housing up through the downrod and attach the downrod to the motor housing. Attach the fan canopy to the other end of the downrod. Follow the assembly instructions that came with your fan as needed.
Join the Wiring
Most fan mounting plates have a hook where you can hang the fan motor while you’re connecting the wiring. That way, you don’t need a second person to hold the fan motor up while you’re working on the connections. The wiring should be color-coded – you should have a white, a black, and a green or bare wire coming out of your ceiling and the same colors coming out of your fan motor. Attach like to like – white connects to white, black to black, and so on. Connect the wires by twisting the bare copper ends together, and then cover the bare ends with a wire nut. Stuff the wiring connections up into the pancake electrical box, then swing the fan motor assembly up into place and secure it to the fan ceiling plate.
Put on the Fan Blades and Light Fixture
With the fan motor connected and mounted to the ceiling plate, it’s time for the finishing touches. Attach the blade irons to the fan blades and then mount the fan blades to the motor housing. Make sure that all the blades are the same distance from the floor. Then attach the light fixture, using the same wiring principles you applied to the fan motor. Now you’re ready to put your new fan to the test!