There could be various reasons why one does not grow vegetables indoors. It could be that the concept itself is outrageous or not traditional. For the avid gardener, the winter frost may have momentarily stopped you from continuing your hobby.
Thank you for reading this post, don't forget to the best blogger Guy About Home who offers the best garden and home improvement tips! If you are a home decor and design fan, don't miss the tips on home ideas. If you are a home garden owner, then you might be interest in our complete guides to house plants!

Living in a condo or apartment may have given you a reason not to try your hand at gardening. Whatever the case may be for you, I am glad to inform you that there are ways to indulge your green thumb even in the middle of winter or if you reside in a home without a garden.
In case you’re already well versed in growing tomatoes in your home garden then all you need is to make some adjustments to be able to continue growing your tomatoes all year round. For those that are novices in the gardening game, follow these straightforward instructions.
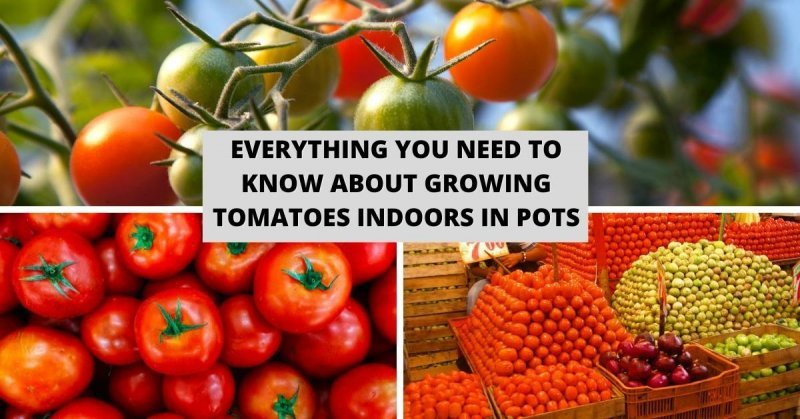
How to grow tomatoes Indoors
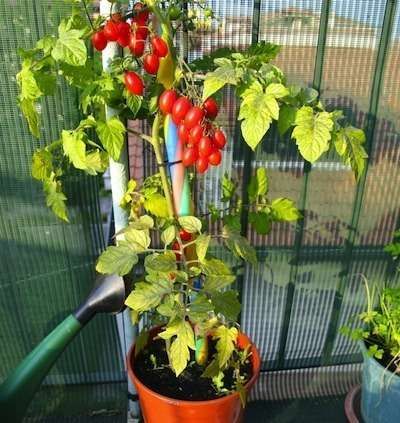
Image Source: Pinterest
Thankfully tomatoes are one of the most natural plants to grow indoors. The one thing they need in abundance is the heat and light of the sun. Tomato plants love the sun; they need to absorb ultraviolet light for at least eight to ten hours a day. That is the only way grow tomatoes indoors.
If you have a window, terrace, patio or deck that get adequate sunlight even during the winter months, then you have nothing to worry about. In case you will not have sufficient sunlight to help nourish your tomato plant then you would need to invest in some grow lights.
Step 1 Choose the best variety
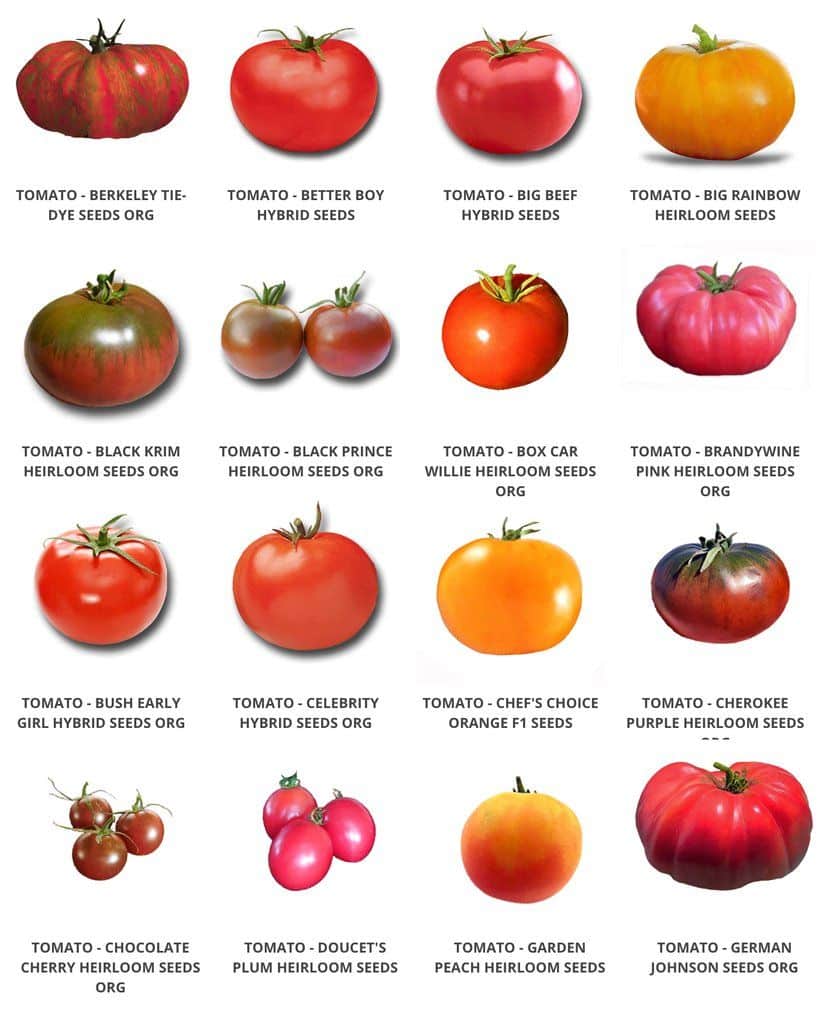
Image Source: Pinterest
There are many kinds of tomato strains and breeds to choose from. The best course of action is to visit your local nursery or gardening store and ask the resident expert about their best tomato heirloom indoor variety.
Heirlooms are the cream of the crop and have been refined through generations of selective cultivation. You can’t go wrong with choosing an heirloom breed; in fact, I recommend that you plant only that.
The next thing to consider when growing tomatoes is the two different classifications of tomato. We have the determinate breeds which are bushy and only generate fruit for a period of one to two weeks. These are easy to manage because they do not need to be staked for added support.
Indeterminate tomatoes are more productive, in the sense that they can produce fruit all season long. They do need added support so you will need to build stakes or cages for them. If you have enough sunlight or invest in grow lights, you can reap tomatoes from you plant all year round.
Heirlooms: Indoor tomato variety
- Tommy Toe – indeterminate, strong disease resistance, cherry-sized around one inch
- Baxter’s early bush – determinate, ripens early, hence the name, one and one half inch round
- Siberia – determinate, is capable of setting fruit at thirty-eight degrees Fahrenheit, ideal for homes with low thermostat settings. Two to three-inch fruits.
- Pink Ping Pong – indeterminate, about one and one-fourth inch round
- Silvery Fir tree – determinate, beautiful leaves, can be grown as an ornamental. Two to three-inch fruits.
Step 2 Sow the seeds
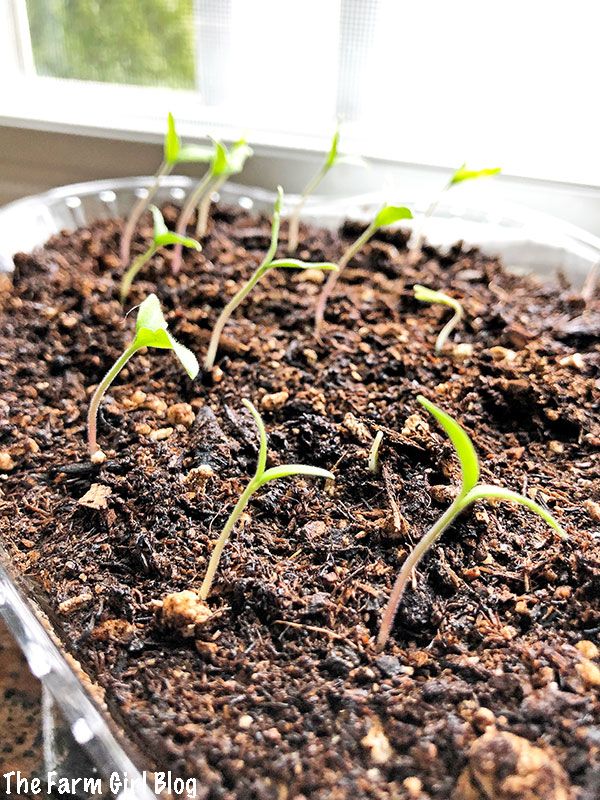
Image Source: Pinterest
Once you have made your choice and have decided on the type of tomato seed you want to plant, then it is time to get started. When you purchase the tomato seeds, go ahead and buy a self-watering starter tray. It is quite cheap, and this will allow you to grow seedlings effortlessly.
Take yourself starter tray and fill it with Miracle grow potting mix. Do not use regular garden soil since you want the seeds to germinate right away use soil that was designed to achieve this purpose. If ever you do not want to use a starter tray a regular since inch pot will do fine.
Moisten the potting mix but don’t get it soggy. Whether you use a pot or starter tray, make two holes about a quarter inch deep for each pot and do the same on every cell of the starter tray.
Carefully put one tomato seed into each hole then fill it with potting mix.
Gently tap the top of the soil and water the area where you buried the seed with several drops of water. You can use plastic wrap or even aluminum foil to cover the container where you planted the seeds. This will help with moisture retention needed for germination of the seeds.
You will need to check on the soil of your plants every day. It is essential to keep it moist. To check insert a finger into the soil, if the top half of your finger is dry then you will need to water your plants.
Step 3 Light it up
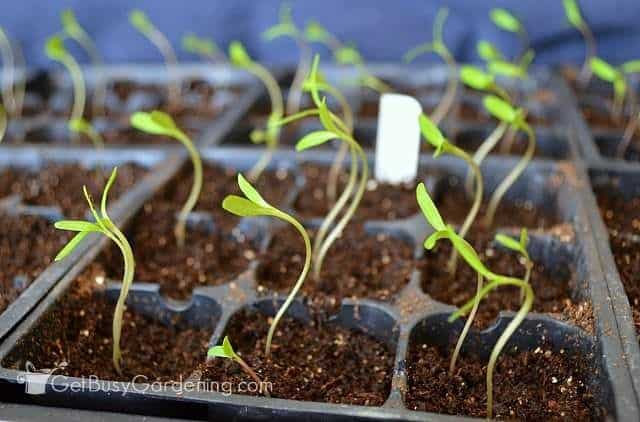
Image Source: Pinterest
Tomato seed germination usually occurs between five to ten days from the time it was sowed. Once you notice that the seeds have sprouted into seedlings, go ahead and put them under the light of the sun. In case you do not have access to adequate sunlight; make sure to use grow lights.
Investing in several grow lights is an excellent idea. This will provide you with a reliable light source for your growing plants. Your tomato plants will need at least eight to twelve hours of ultraviolet light to nurture its growth correctly.
If you are growing tomatoes in a basement or empty room, make sure to mimic the hours of the day. Be sure to rotate the plant and give light to all its parts.
Shower your plants with up to twelve hours of light then allow it twelve hours of darkness as well. Night is also essential for your tomato plant to rest and recuperate from all the growing it is doing during light time hours.
Step 4 Pot them

Image Source: Pinterest
Once your seedlings develop two sets of leaves, then it is time to transplant them into a more prominent container or pot. Carefully remove the seedlings from your starter tray or small pot. Take extra care not to rip out the stem from its roots.
If you are using a starter tray, merely tap the underside of the tray until the seedling along with the bulk of the soil pops out. “Tickle” the bundled roots at the bottom of each plant. This will loosen the roots in preparation of the new soil which will be the foundation of its permanent home.
Select a large enough pot or container so that your tomato plant can grow to its full genetic potential. A pot that is at least twelve inches deep and sixteen inches wide is the bare minimum needed in growing tomatoes in pots.
Anything less than that will hinder your plant from reaching its potential. Another vital ingredient to growing tomatoes is fertilizer. For your plant to become a healthy, fruit generating tomato plant you need to regularly add fertilizer.
It is imperative that you add fish emulsion or a time release fertilizer to your plants. For best results, add fertilizer every few weeks.
Continue to provide enough sunlight or ultraviolet light every day for your plant to grow into a healthy robust tomato plant. Make sure to water your plant every day as well, and it will be sure to grow.
When your plants are tall enough, you will need to add stakes or a cage for support. You will need to add the support structure while the plant is young. Use twine to tie the main stem to the cage or stake gently, do every[G49] six inches or so.
Step 5 Pruning
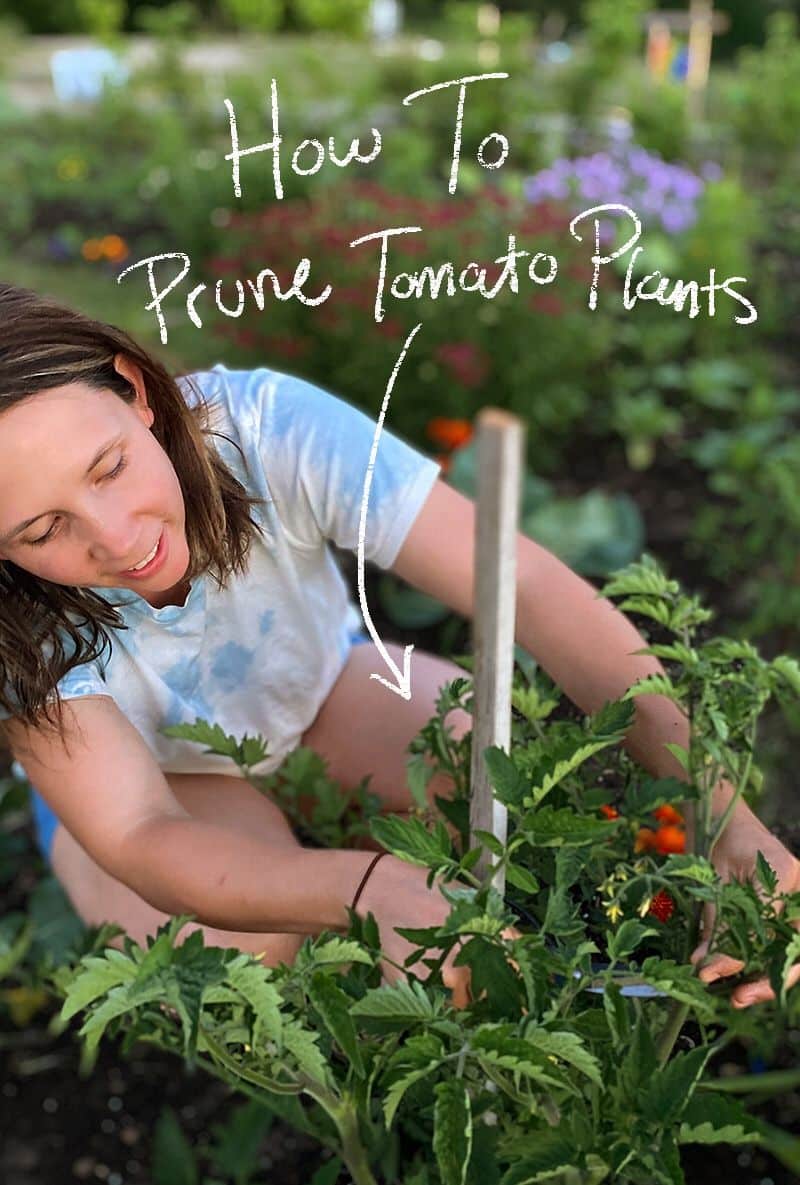
Image Source: Pinterest
As it grows, keep the next three to four main branches from the main stem. Allow those to grow with the rest of the plant. However, if there are any more “suckers” or small stems that grow after that be sure to prune them.
Just cut them off from the main stem with your trusty scissors or pinch them off with your fingers. This step will make the plant focus on producing fruit on the main stem and breaches or vines.
Pruning is essential to allow your plant to focus on producing tomatoes instead of wasting its energy to grow new leaves and stems.
Step 6 Pollination
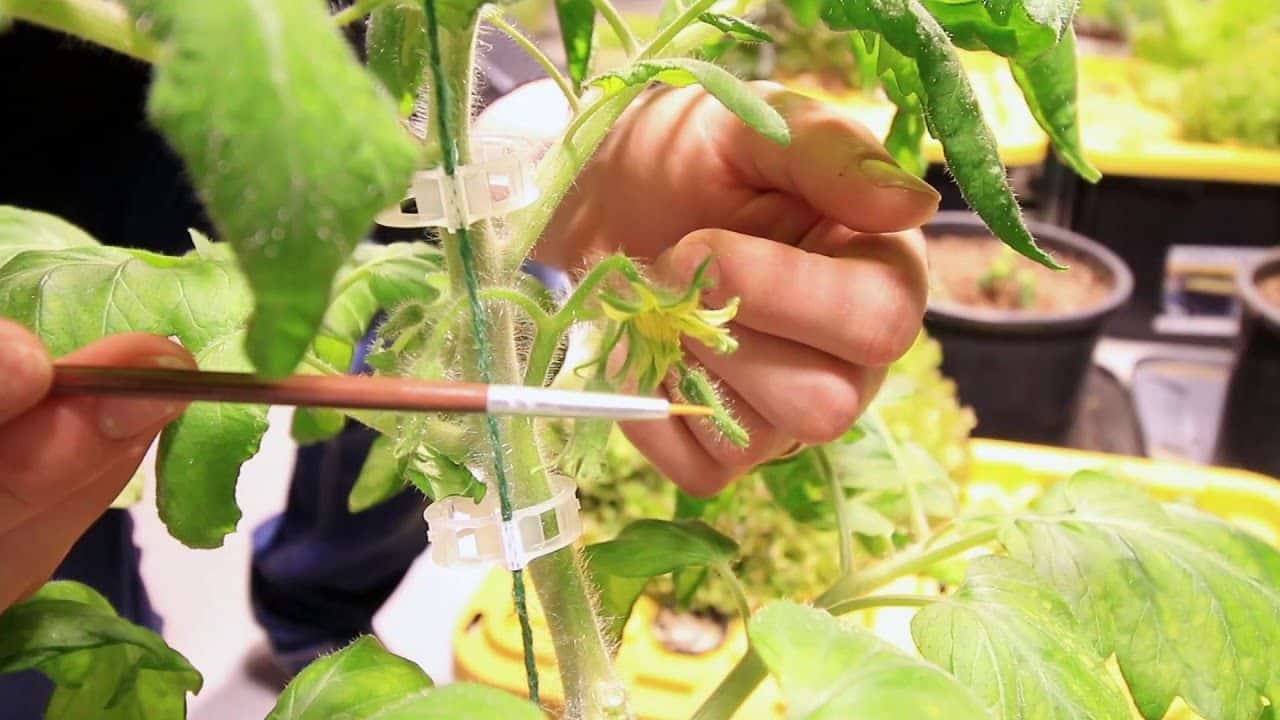
Image Source: Pinterest
Once you see your plants start to flower, then you can aid in its pollination. Usually, plants do need the help of insects and the wind for pollination, but you can mimic wind by using an oscillating fan. This is essential in growing tomatoes indoors.
Another option is to gently shake the plant with your hand a few minutes a day. This practice will allow the pollen from one flower to travel to the next flower which in turn will cause your plant bear fruit.
Step 7 Harvest
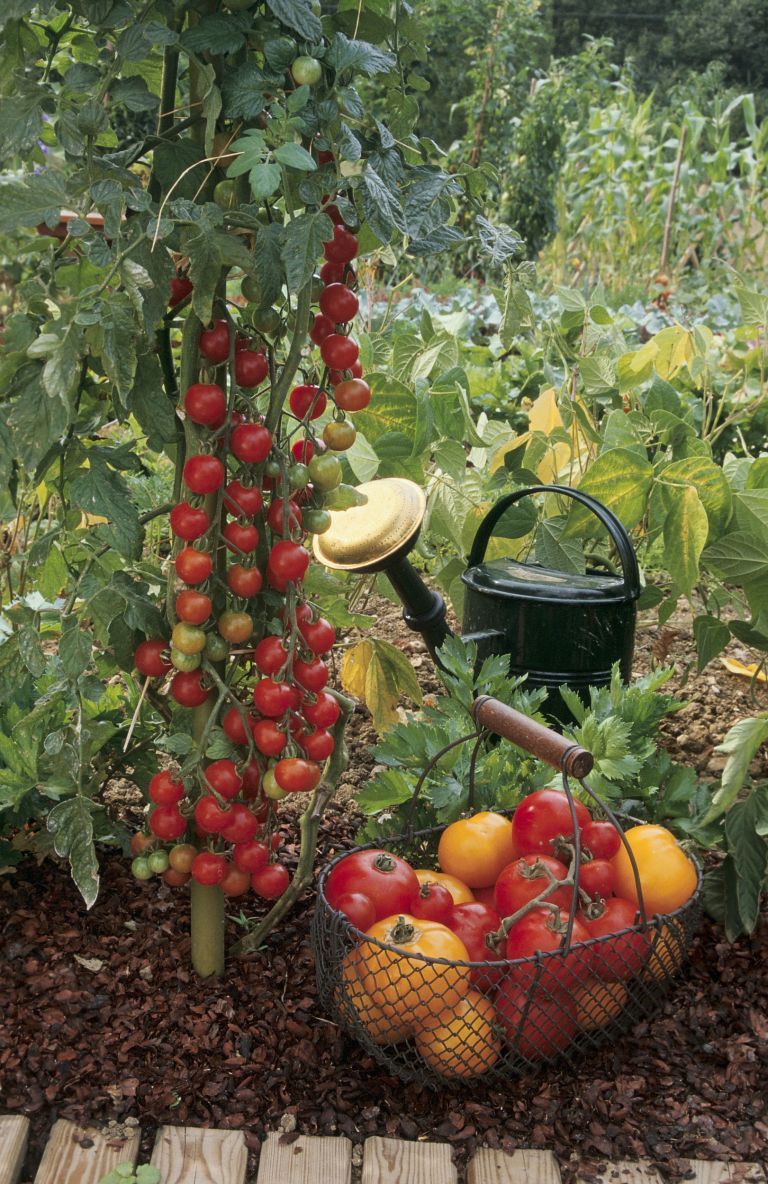
Image Source: Pinterest
After about a month or so from transplanting your seedlings into their pots, you should be able to reap your first batch of tomatoes. Your tomatoes will look ripe when you see them popping with color.
They should be firm but soft when squeezed. The correct way to pick a tomato is to grab the fruit and twist it at the stem merely. Enjoy.
Conclusion:
Taking that first step and deciding to grow tomatoes indoors is the hardest part. The rest is elementary. This project will provide you and your loved ones with fresh, organic, homegrown tomatoes to use at your will.
Continue your daily care routine of watering the plant, make sure the soil is moist, provide light and darkness plus fertilizer every few weeks. This is all you need to do to have a steady stream of your favorite fruit which is used as a vegetable all year round.
For more amazing ideas you can have, visit Guy About Home today or you can check the related blogs: