


Image Source: Freepik
Thank you for reading this post, don't forget to the best blogger Guy About Home who offers the best garden and home improvement tips! If you are a home decor and design fan, don't miss the tips on home ideas. If you are a home garden owner, then you might be interest in our complete guides to house plants!
Everyone loves clean, glowing skin free of dark spots, dead skin cells, and dirt. To achieve this, you need to take care of your skin regularly. Even if you have to go to the salon or call a home beautician regularly, it shouldn’t replace your daily face clean-up routine at home.
Participating in face clean-up at home keeps your skin glowing and radiant, removes all the impurity, and nourishes it without any damage. Scroll down as we discuss how to clean your face at home and everything needed.
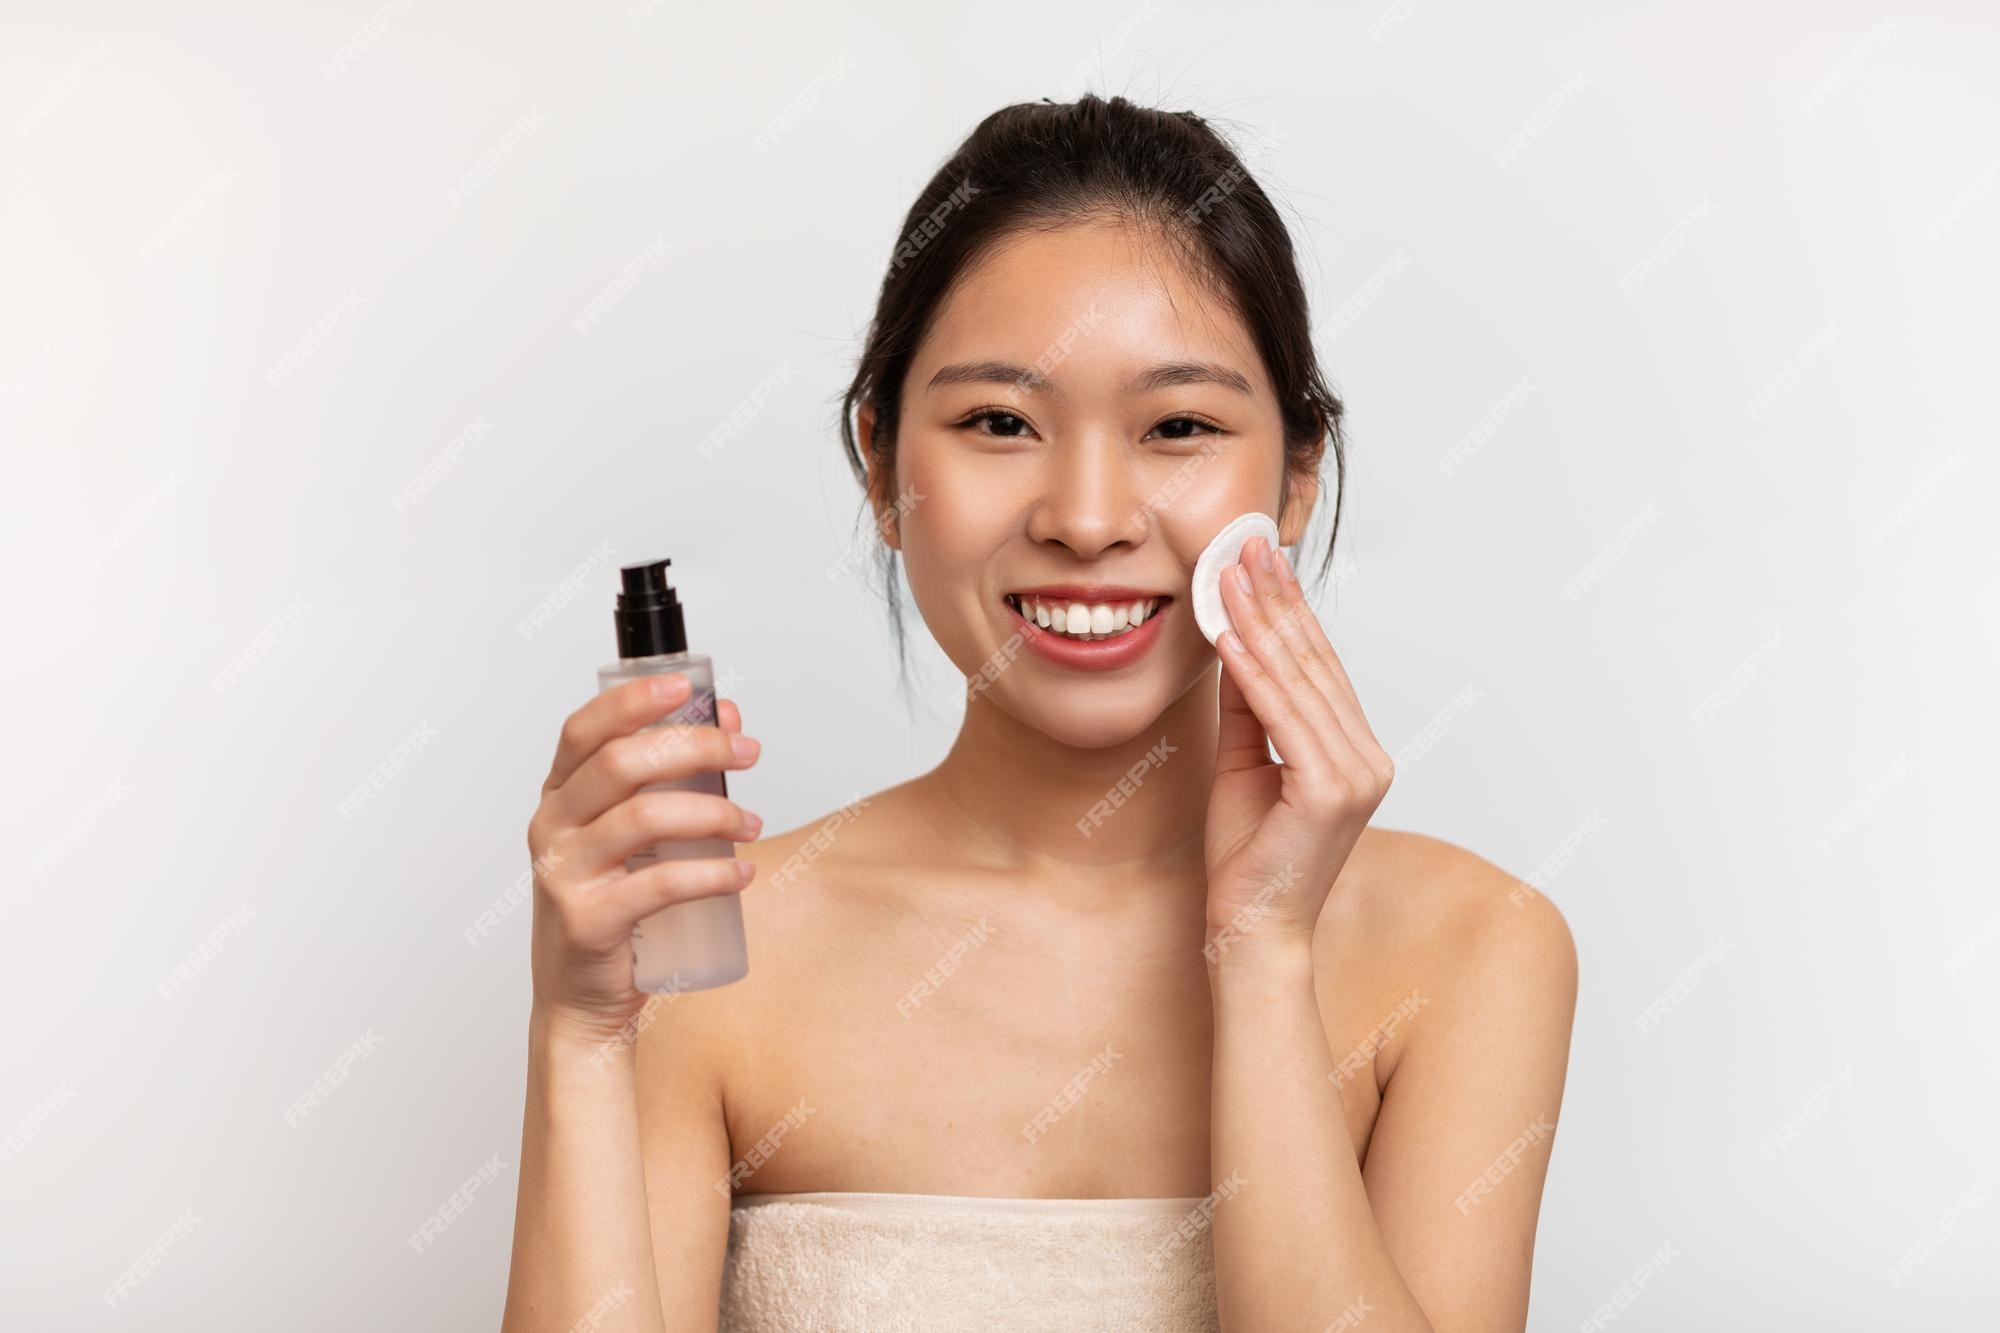
What is Clean Up Facial

Image Source: iStock
Facial cleanup is a deep cleansing exercise that involves massaging and using additional products such as almond scrub, aloe vera gel, or fruit cream pack. Due to the elaborate nature of facial cleanup, it’s recommended to get it done every 30 to 45 days.
Is Clean-Up Necessary for Face?
Face cleanup is extensively important to maintain a healthy and radiant complexion. Despite using a face washer or cleanser, there are traces of sweat, excess oil, dead cells, and dirt. That’s why you need regular face cleanup to eliminate all the remnants. More so, regular face cleanup keeps your skin hydrated always.
Why Clean-Up Is Important for Face
It’s important to clean up your face regularly to keep your skin free of excess oil, impurities, and sebum, that accumulate on the top layers of the skin and block the skin pores. Regular face cleanup keeps your skin unclogged to avoid any skin issues. Also, it ensures your skin is kept refreshed and rejuvenated.
Are There Any Side Effects of Face Clean-up
The most typical side effects that some individuals may suffer after a face cleanup are redness and skin irritation. Other side effects include; breakouts, dryness, scarring, etc.
The vast majority of these side effects are self-manageable, while some reactions may require medical attention. However, before engaging in any cosmetic procedure, ensure it’s suited for your skin type.
What Are The Benefits of Face Clean up
Here are a few benefits of proper face clean-up;
- It keeps your skin free of makeup, debris, excess oil, dirt, etc.
- It opens up the pores, improves your skin, and replaces cells that clog your skin.
- It reduces stress and relieves you of psychological distress.
- Finally, it keeps wrinkles at bay, preventing unexpected aging.
How Often To Do Face Clean-up
Face cleanup takes about 30 minutes or more because it does not involve massage or special products. And it should be done every 15 days at home since you don’t have to go to the salon, and it won’t cost you much.
Clean-up Facial Differences
The significant difference between facials and cleanup is that facials involve special treatment and steps such as massage, moisturizing, chemical peels, face masks, etc., while cleanup involves cleansing the skin. Also, facials are primarily done in a salon or spa, while cleanup can be done at home within a few minutes.
How To Do Clean Up at Home
The few steps you need to follow while doing your face clean up at home for radiant, flawless skin free of dirt and dead cells are;
Face Clean-Up Kit
Some of the face cleanup kits needed are;
- Hydrating foam cleanser
- Steamer
- Face scrub
- Face pack
- Moisture locking toner
- Sheet mask
- Moisturizer
- Hydrating face cream
- Cold water with ice cubes
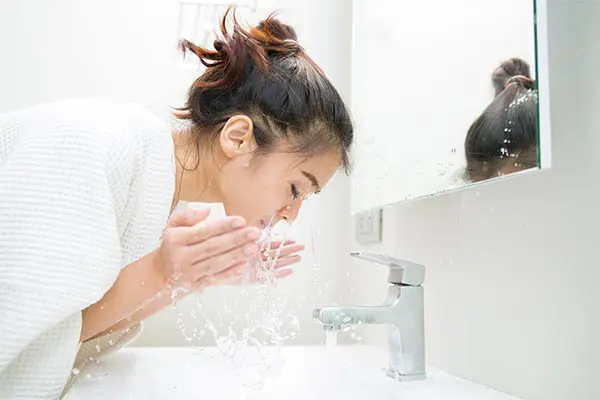
#1 Clean Up Step 1: Cleansing

Image Source: hopscotch.in
To have bright and glowing skin, the first step is to cleanse and wash your face thoroughly using a facial cleanser or face wash. You can also use mild soap and cleansing oil or milk to remove the surface from your skin. Then rinse off the cleanser with lukewarm water.
#2 Clean Up Step 2: Steam

Image Source: The Guardian Nigeria
Using a steamer, steam your face for as long as your skin can take it (approximately 5 to 10 minutes). If you don’t have access to a steamer, you can heat some water in a bowl and stand close with your face above the bowl. Cover your face and the bowl with a towel to make it more effective.
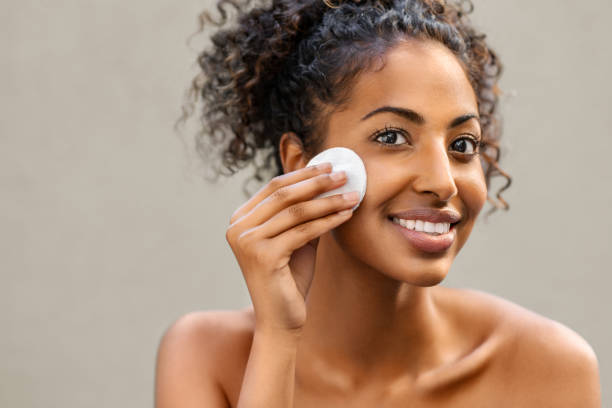
#3 Clean Up Step 3: Scrub off the dead cells and impurities

Image Source: Pexels
Get some good scrubbing packs from the grocery and scrub your face for about 5 to 7 minutes to remove the dead cells, blackheads, and dirt locked inside your skin pores. Leave the scrub for a couple of minutes before washing it with warm water.
Instead of a scrubbing pack, you can use home remedies such as a mixture of honey and sugar, blueberry and honey, or sugar and chocolate to scrub your face.
#4 Clean Up Step 4: Moisturizing Face Pack

Image Source: Shutterstock
Next is to apply a good moisturizing face pack to your face to keep your skin radiant and soft. It’s preferable to use a natural face pack such as aloe vera and honey, turmeric and besan, or a fuller earth face pack, etc. Leave the face pack on your face till it’s dried, and wash off with warm water.
#5 Clean Up Step 5: Toner

Image Source: Freepik
Once the face pack on your face is dried, apply a homemade toner, such as aloe vera, apple cider vinegar, cucumber, or rose water, to help sustain the pH balance of your face.
#6 Clean Up Step 6: Moisturizer

Image Source: CanStockPhoto.com
The final step is to moisturize your skin by applying a nourishing cream or hydrating moisturizer to your face and neck. And you need to repeat this final step before going to bed. If you got dry skin, you could apply a milder moisturizer that’s free of alcohol.
How to Clean Your Face Naturally
Using chemical procedures to clean up your face is good, but natural products are best. And here are the easiest and best ways to naturally clean your face at home using homemade products.
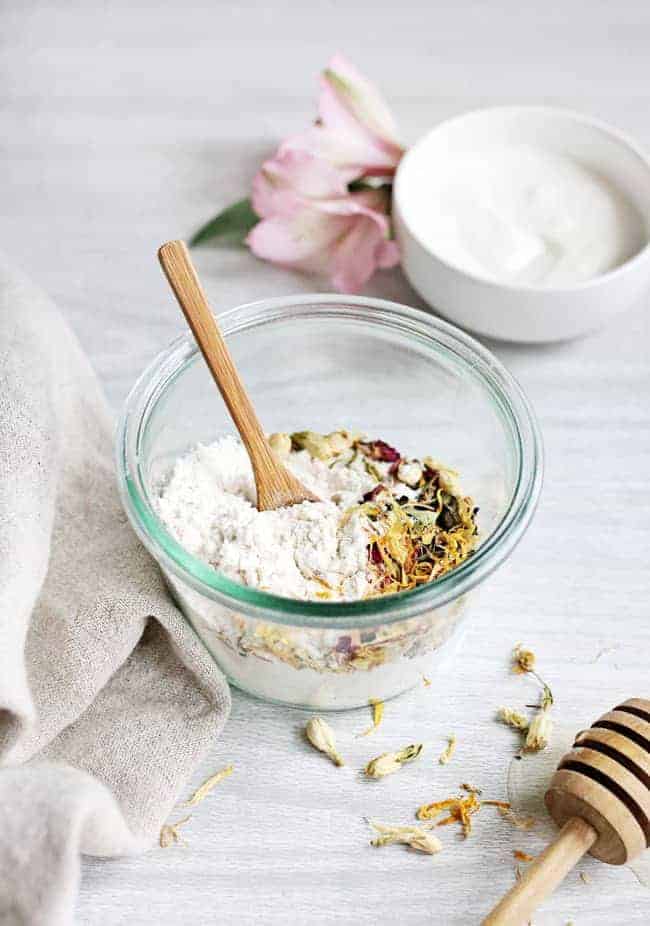
DIY Cleanser

Image Source: hello glow.co
Some homemade natural cleansers are cleansing balms, cleansing grains, clay cleansing masks, honey cleansing, milk cleanser, etc. Considering cleansing grains, it involves several herbs, oats, nuts, etc., and offers excellent benefits for your skin. Here’s the process of making one for your skin cleanser;
- Add ingredients – oats, herbs, rice, or nuts in a small mortar or grinder.
- Ensure it’s super finely ground to avoid any irritation on your skin.
- Add a few drops on your face and massage gently to remove dirt.
- Then rinse off with cold water.
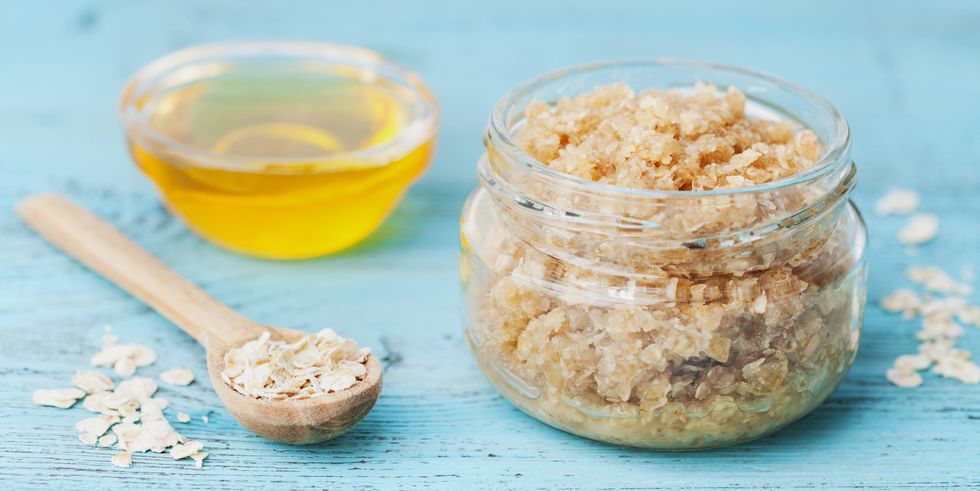
DIY Scrub

Image Source: prevention.com
Typically homemade facial scrubs only need a few ingredients. Before you start making your own, ensure you have the following at home;
- Carrier oil such as coconut, almond, or jojoba oil.
- A food processor or coffee grinder if using oatmeal.
- Mixing bowl and spoon.
- Essential oil of your choice.
Using coconut oil or any essential oil and oatmeal, the procedure includes;
- Melt 2 or 3 tablespoons of the oil in a bowl or pot.
- Add half a cup of brown or white sugar.
- Add one-quarter of raw oatmeal.
- And stir all mixture thoroughly.
- Use within a few days before the oat becomes too soft.
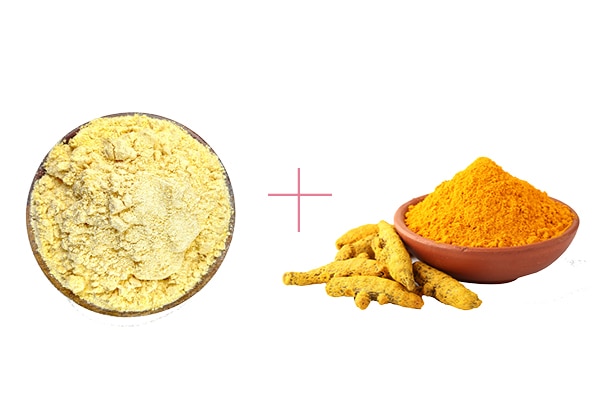
DIY Face Pack

Image Source: bebeautiful.in
A turmeric and Besan mixture is one of the perfect face packs for skin rejuvenation. Here are the steps to make DIY turmeric and besan face pack.
- Mix two tablespoons of besan and a pinch of turmeric powder in a vessel.
- Add a little rose water and mix it all to form a paste.
- Apply to your face and leave to sit for 15 minutes.
- Then wash off with warm water.
DIY Toner

Image Source: Pinterest
To make a DIY toner at home, here are a few steps to follow;
- Extract the juice of a cucumber in a vessel and add 5 tablespoons of rose water to it.
- Thoroughly mix and transfer toner into a spraying bottle.
- Store in the fridge and shake well before using it.
How To Do Clean Up at Home: In Summary
Now that we’ve explained how to deep clean your face at home, it doesn’t seem all that hard. Try applying this guide at home and see how your skin will glow and radiate.

